Hi, everybody,
last week I did some delate indoor wiring and Winter pruning. Late because of having to look for and buy new furniture for the living room and when that was finally done having to paint it twice! And indoors because it has been snowing like crazy here for the last couple of days! I just got in covered with snow because I had to remove the piled-up snow from the bird’s netting that covers my small garden! It started sagging under all the weight and I had to remove it by pushing the net upwards with a broom…so needless to say that most of the snow ended up in my naked neck BBRRRR!!! But first, some pictures that I made of some deadwood and Jin work that I did on my big Prunus mahaleb Yamadori the sunny day before the snow started to fall.
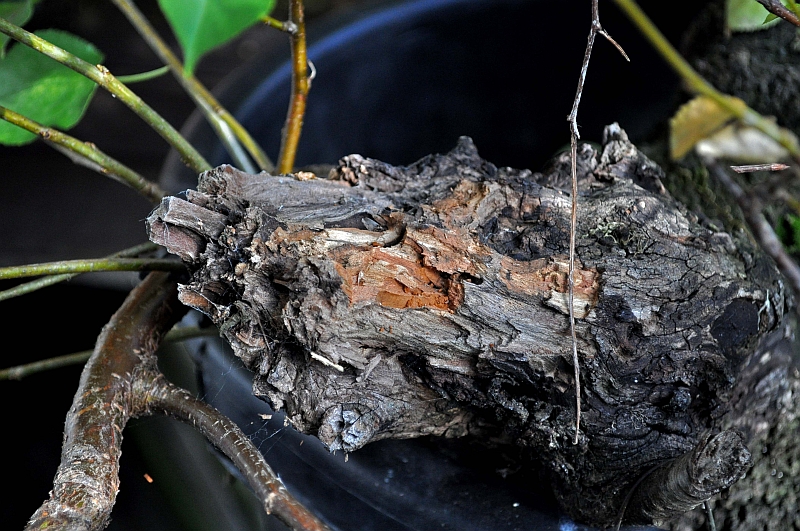
Below: The too-long Jin that needs to be shortened and shaped.

Below: The long old natural Jin is shortened.
Below: The remaining stump.

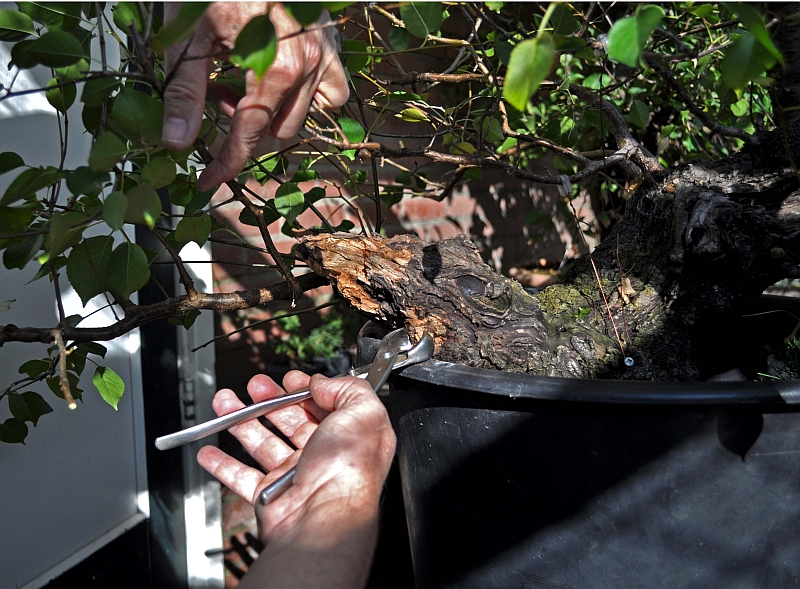
Below: Breaking off pieces of wood with concave cutters to get a natural-looking result.

Below: I love to do this creative work without much thinking or planning… just going with the flow!

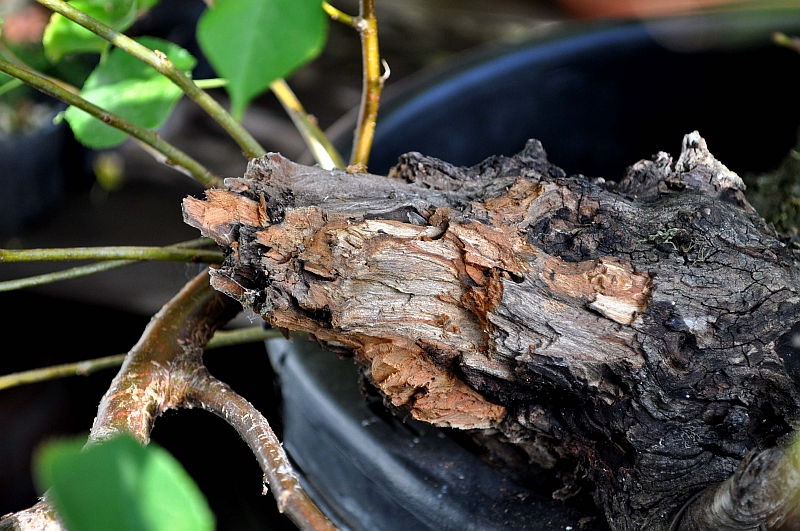
Below: The end result for now.
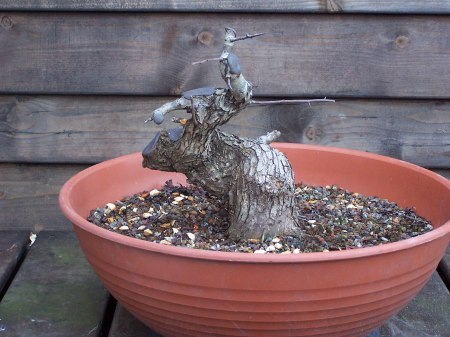
Below: This is the stump that was left after the air layering was removed two years ago. It has been worked a little before with hand tools to reduce it, but it is still too bulky and massive for my liking so time to remove some more! The branch you can see on the left grows from the back of this deadwood and will be shortened in the future when it is thick enough, leaving a cascading branch appearing from behind that deadwood.! The 4 small branches that you can see growing upwards from it are crafted onto it last year, they will create in the future a small grown just above this deadwood
Below: Still not there yet, but looking much better all ready!
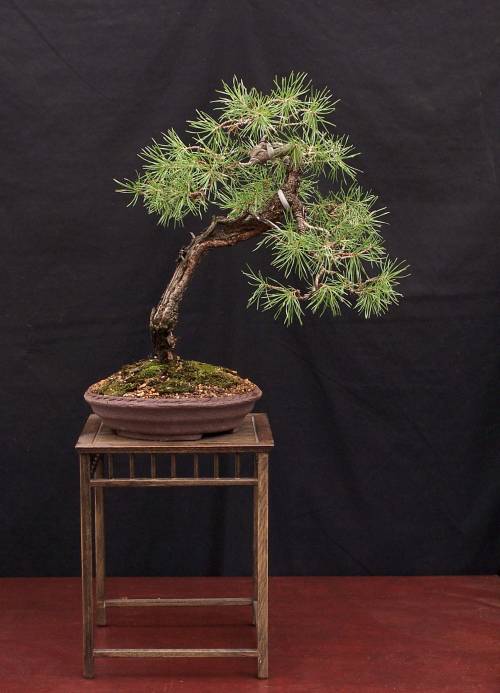
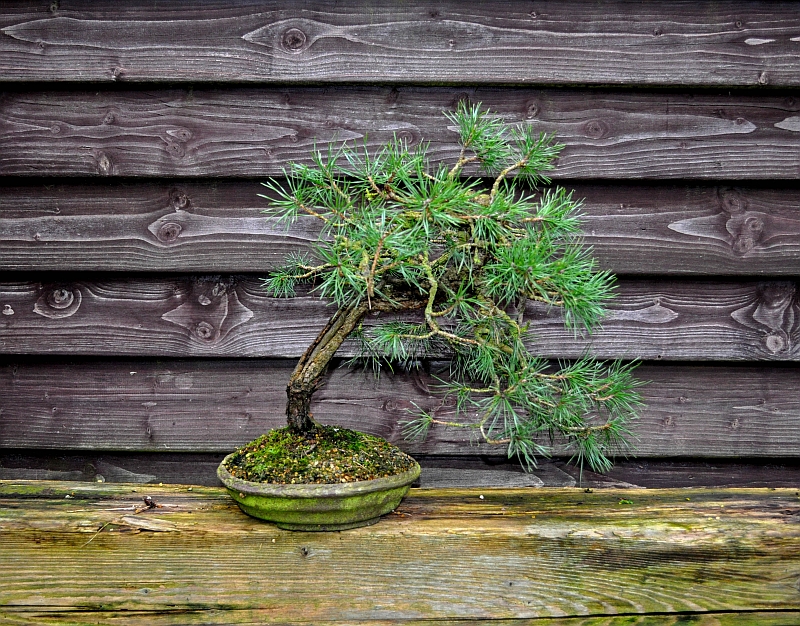
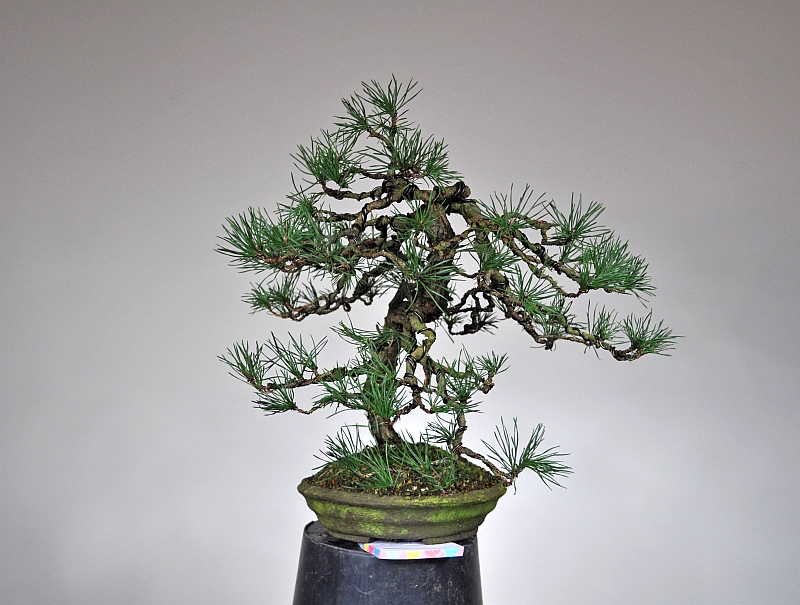
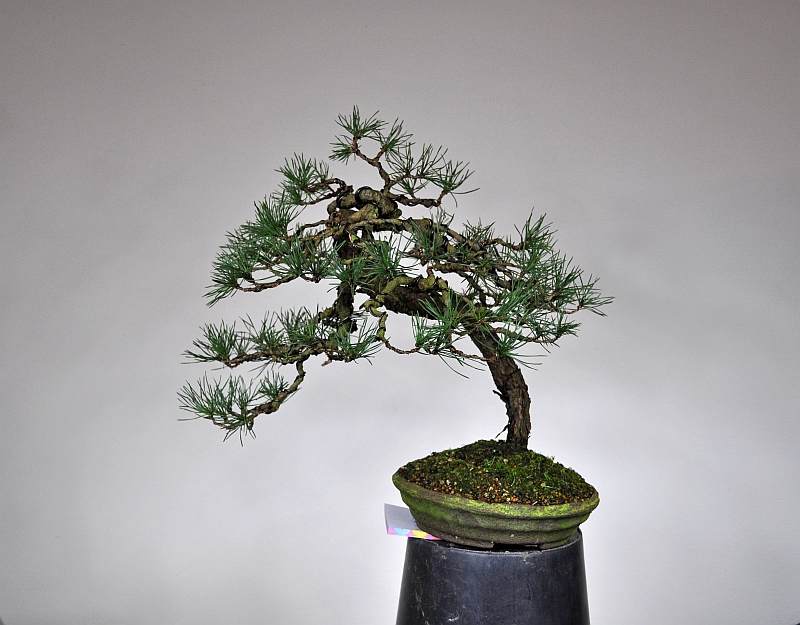
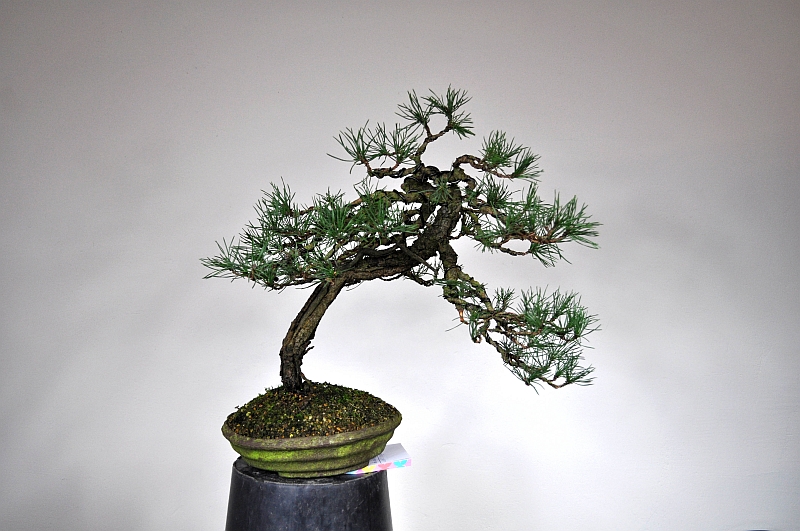
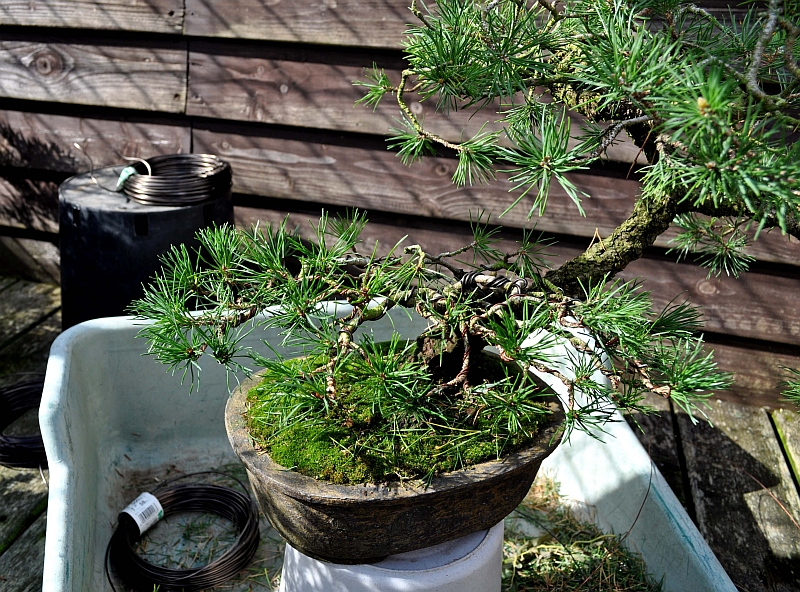
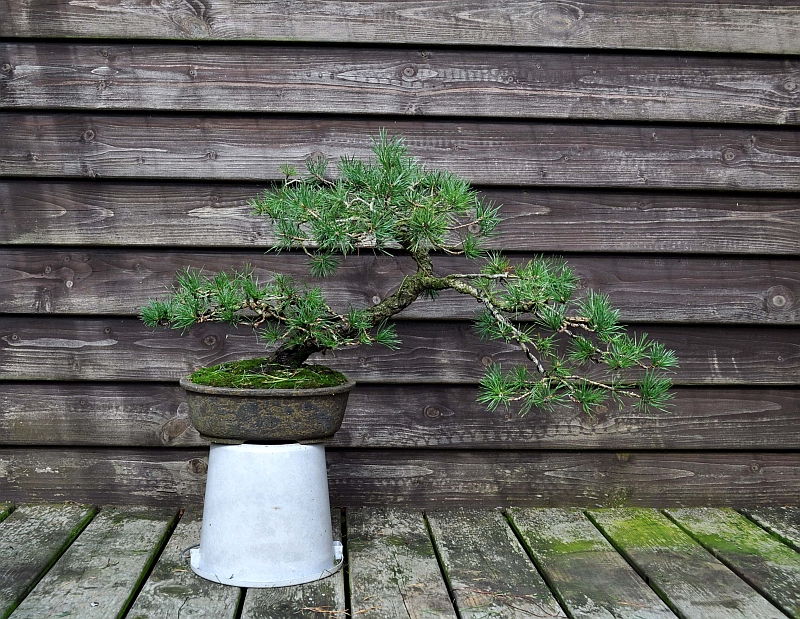
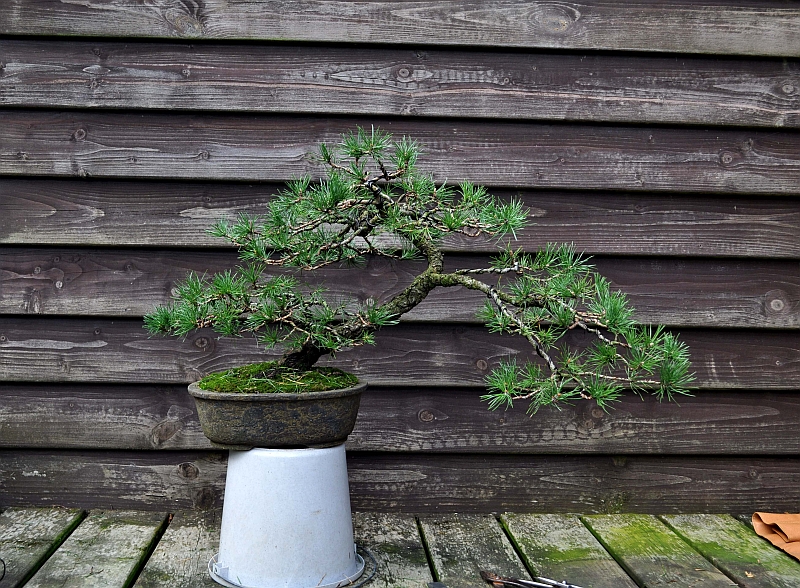
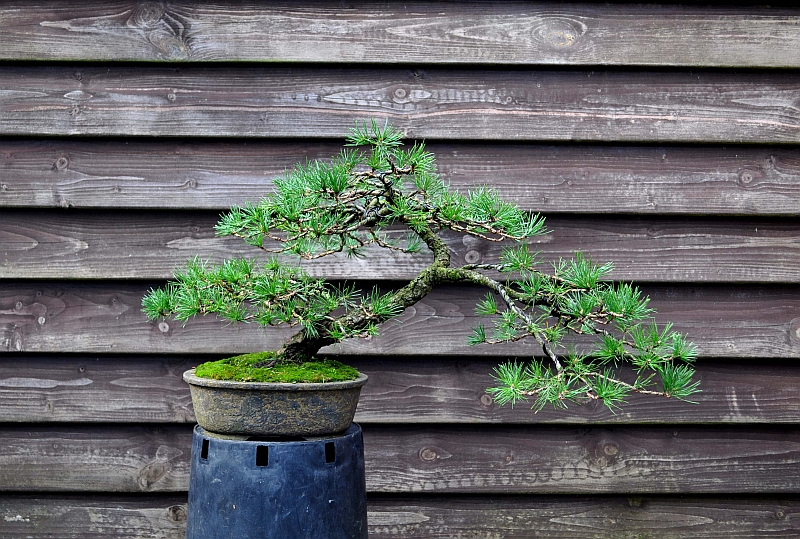
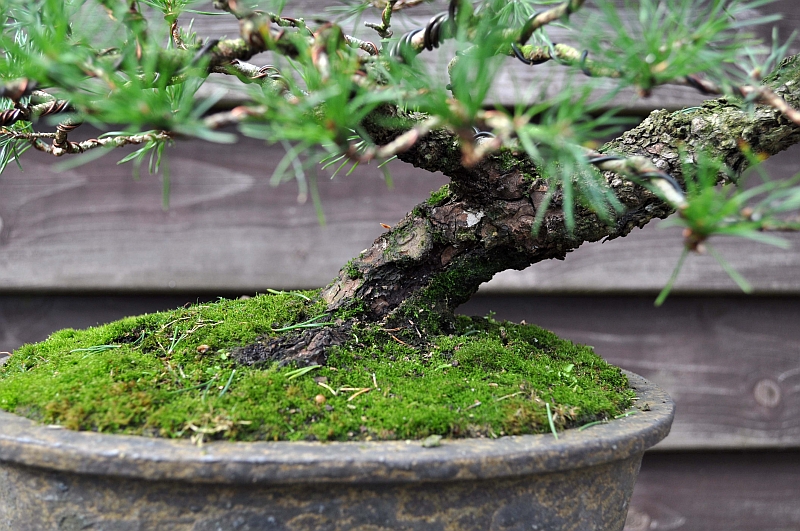
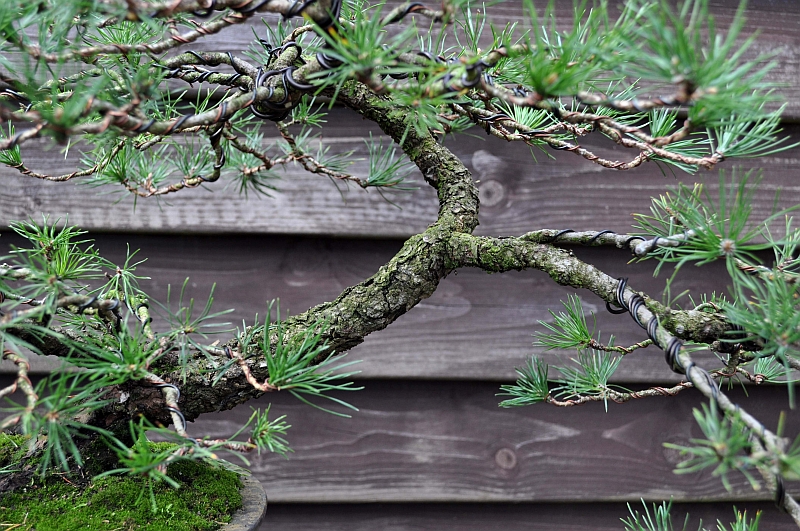
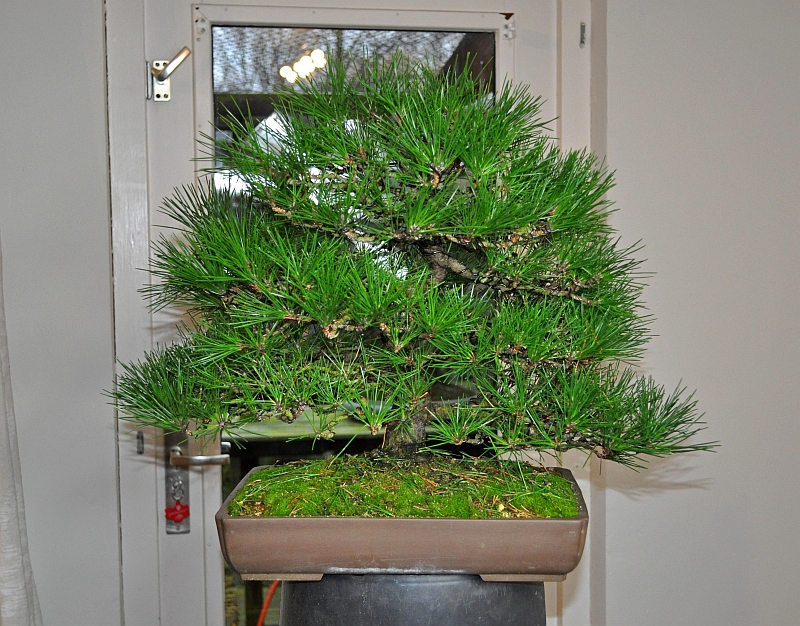
Below: Then the snow started to fall and I moved indoors where I first finished the wiring of this old Pinus thunbergii (Japanese black pine) that has been in my collection almost right from the start of my life in Bonsai…I guess since 1991 0r 1992?! Back then it was still a thin Shohin, but I still decided to shorten it and replace the too-thick top with a more suitable and thinner side branch! Now all those years later it has become a 44 cm/17.6 Inch high mid-size Bonsai! The needles are a bit too long, but that is to thicken the higher-place branches some more! After all those years it has beautiful flaky bark and a mature overall appearance. It is one of many of my Bonsai that I will let go and is for sale at the next Noelanders trophy!
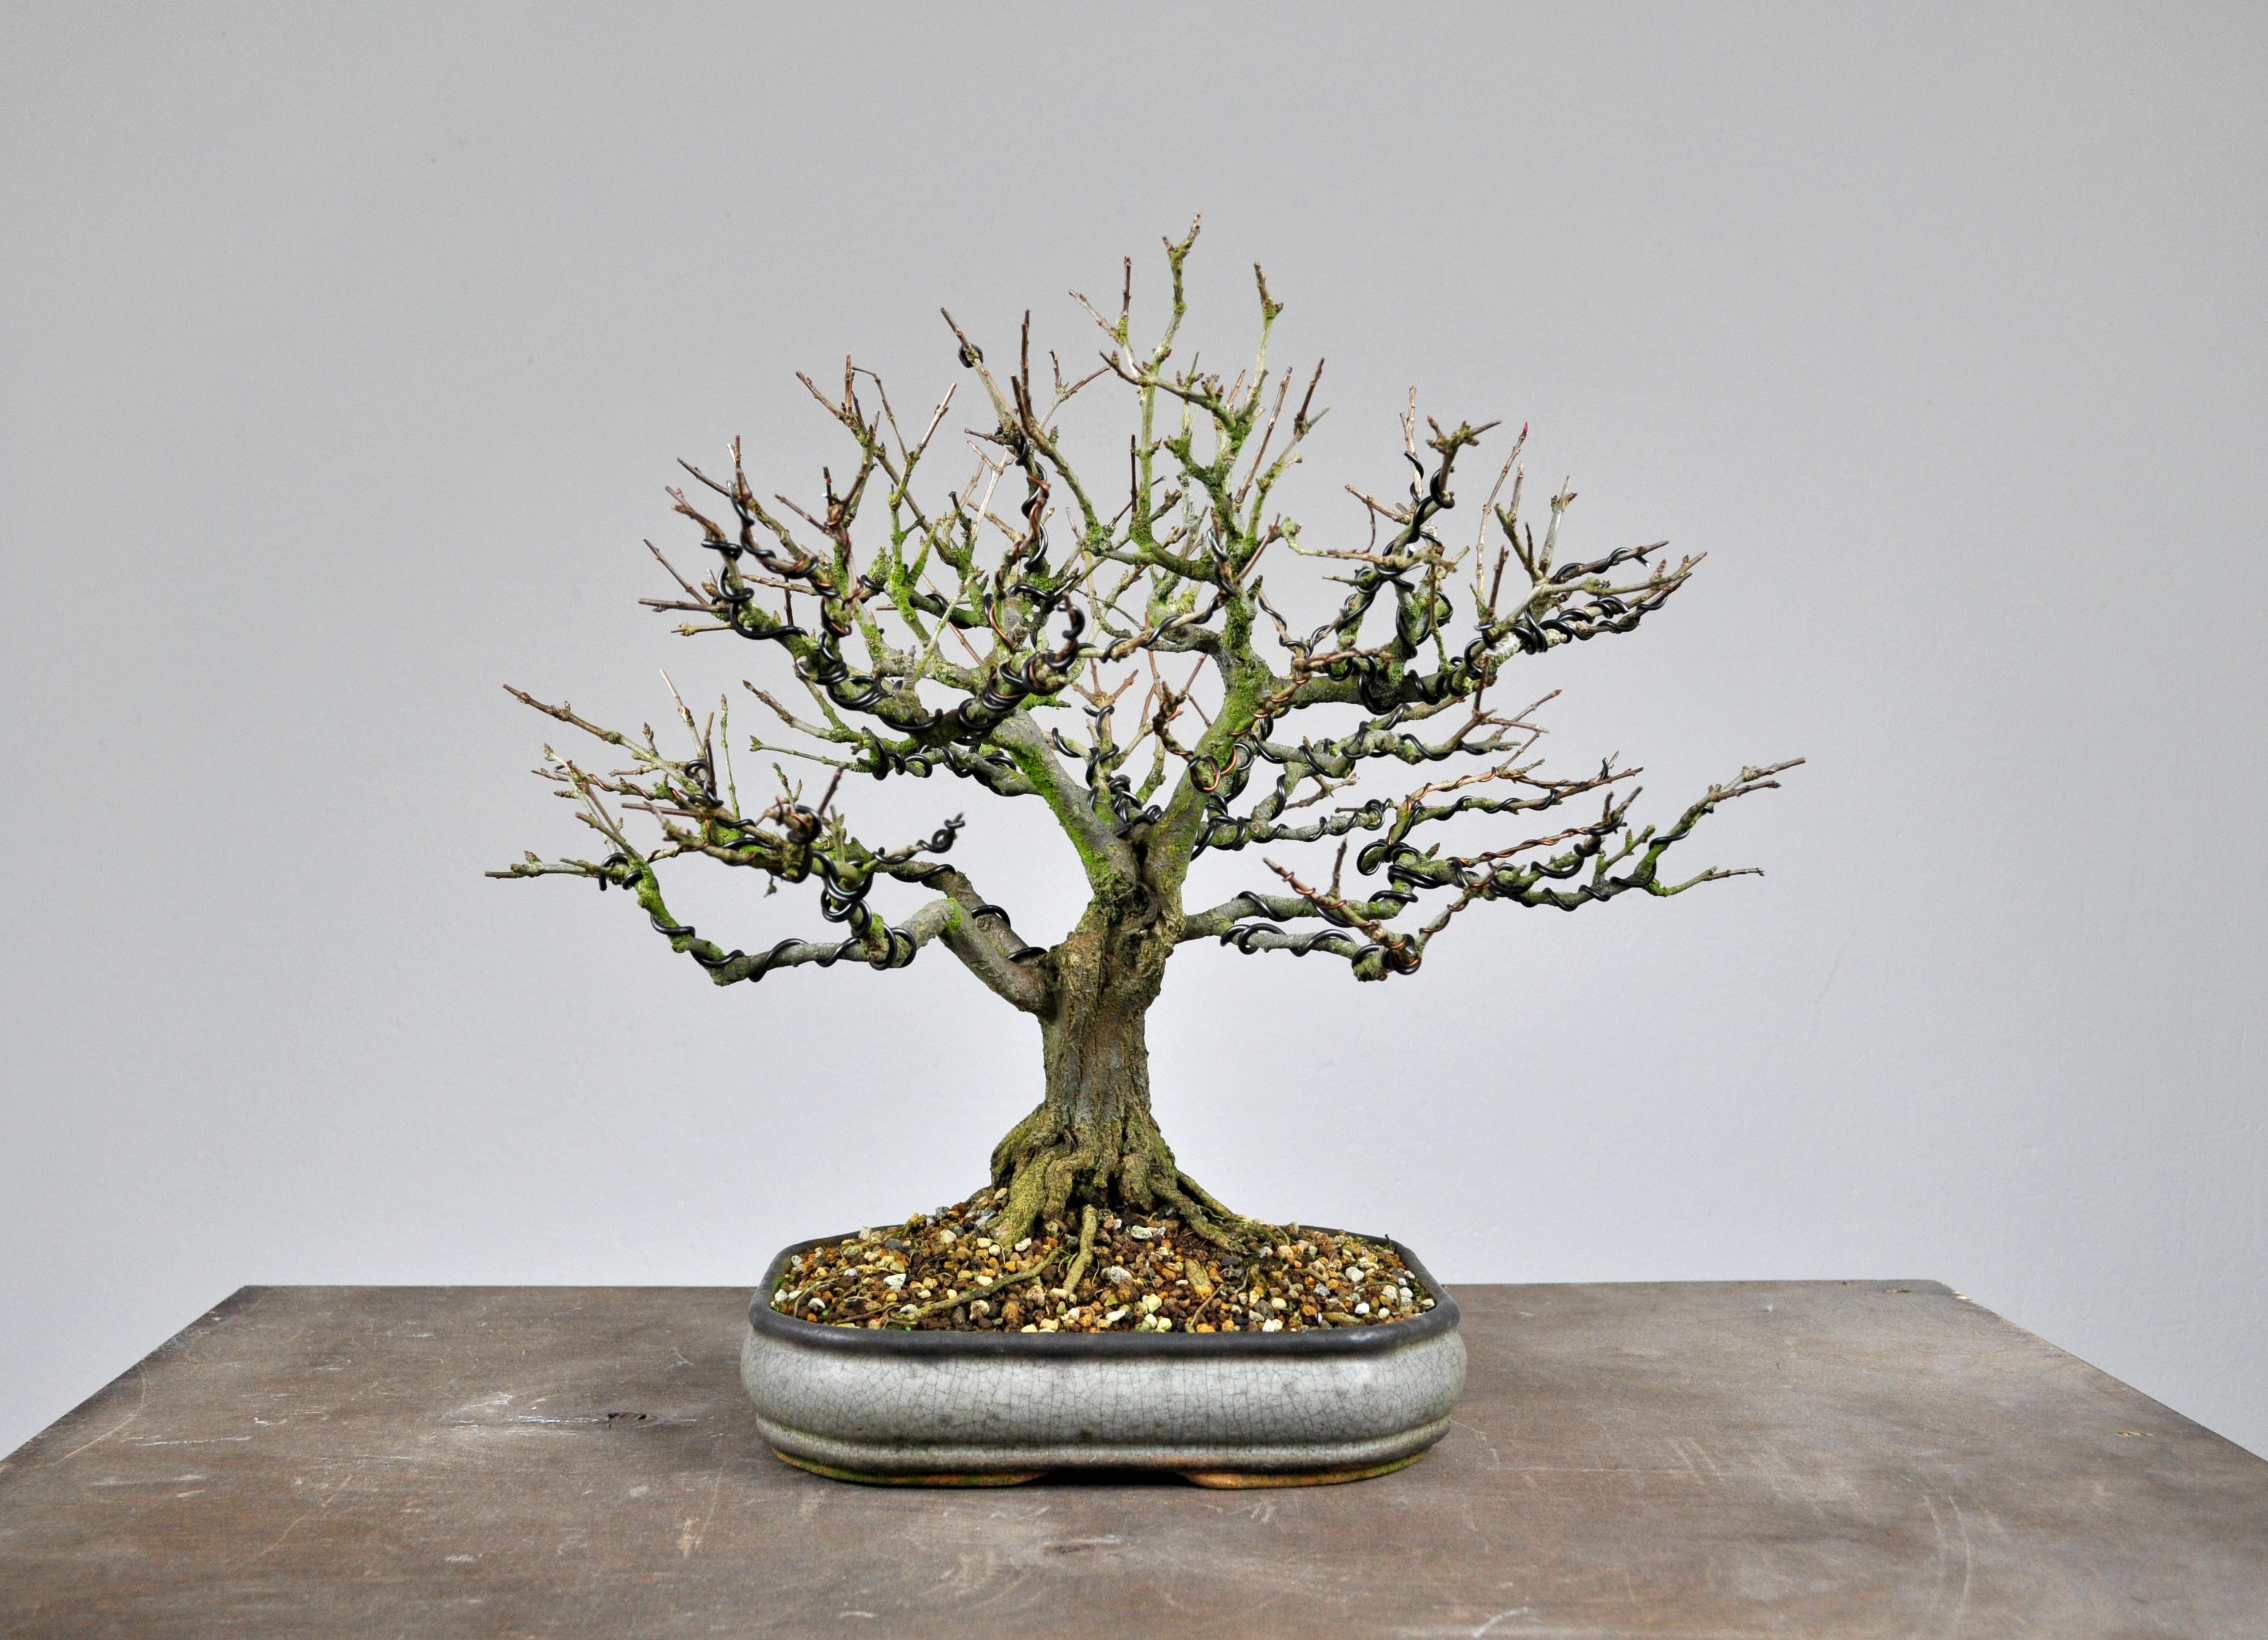
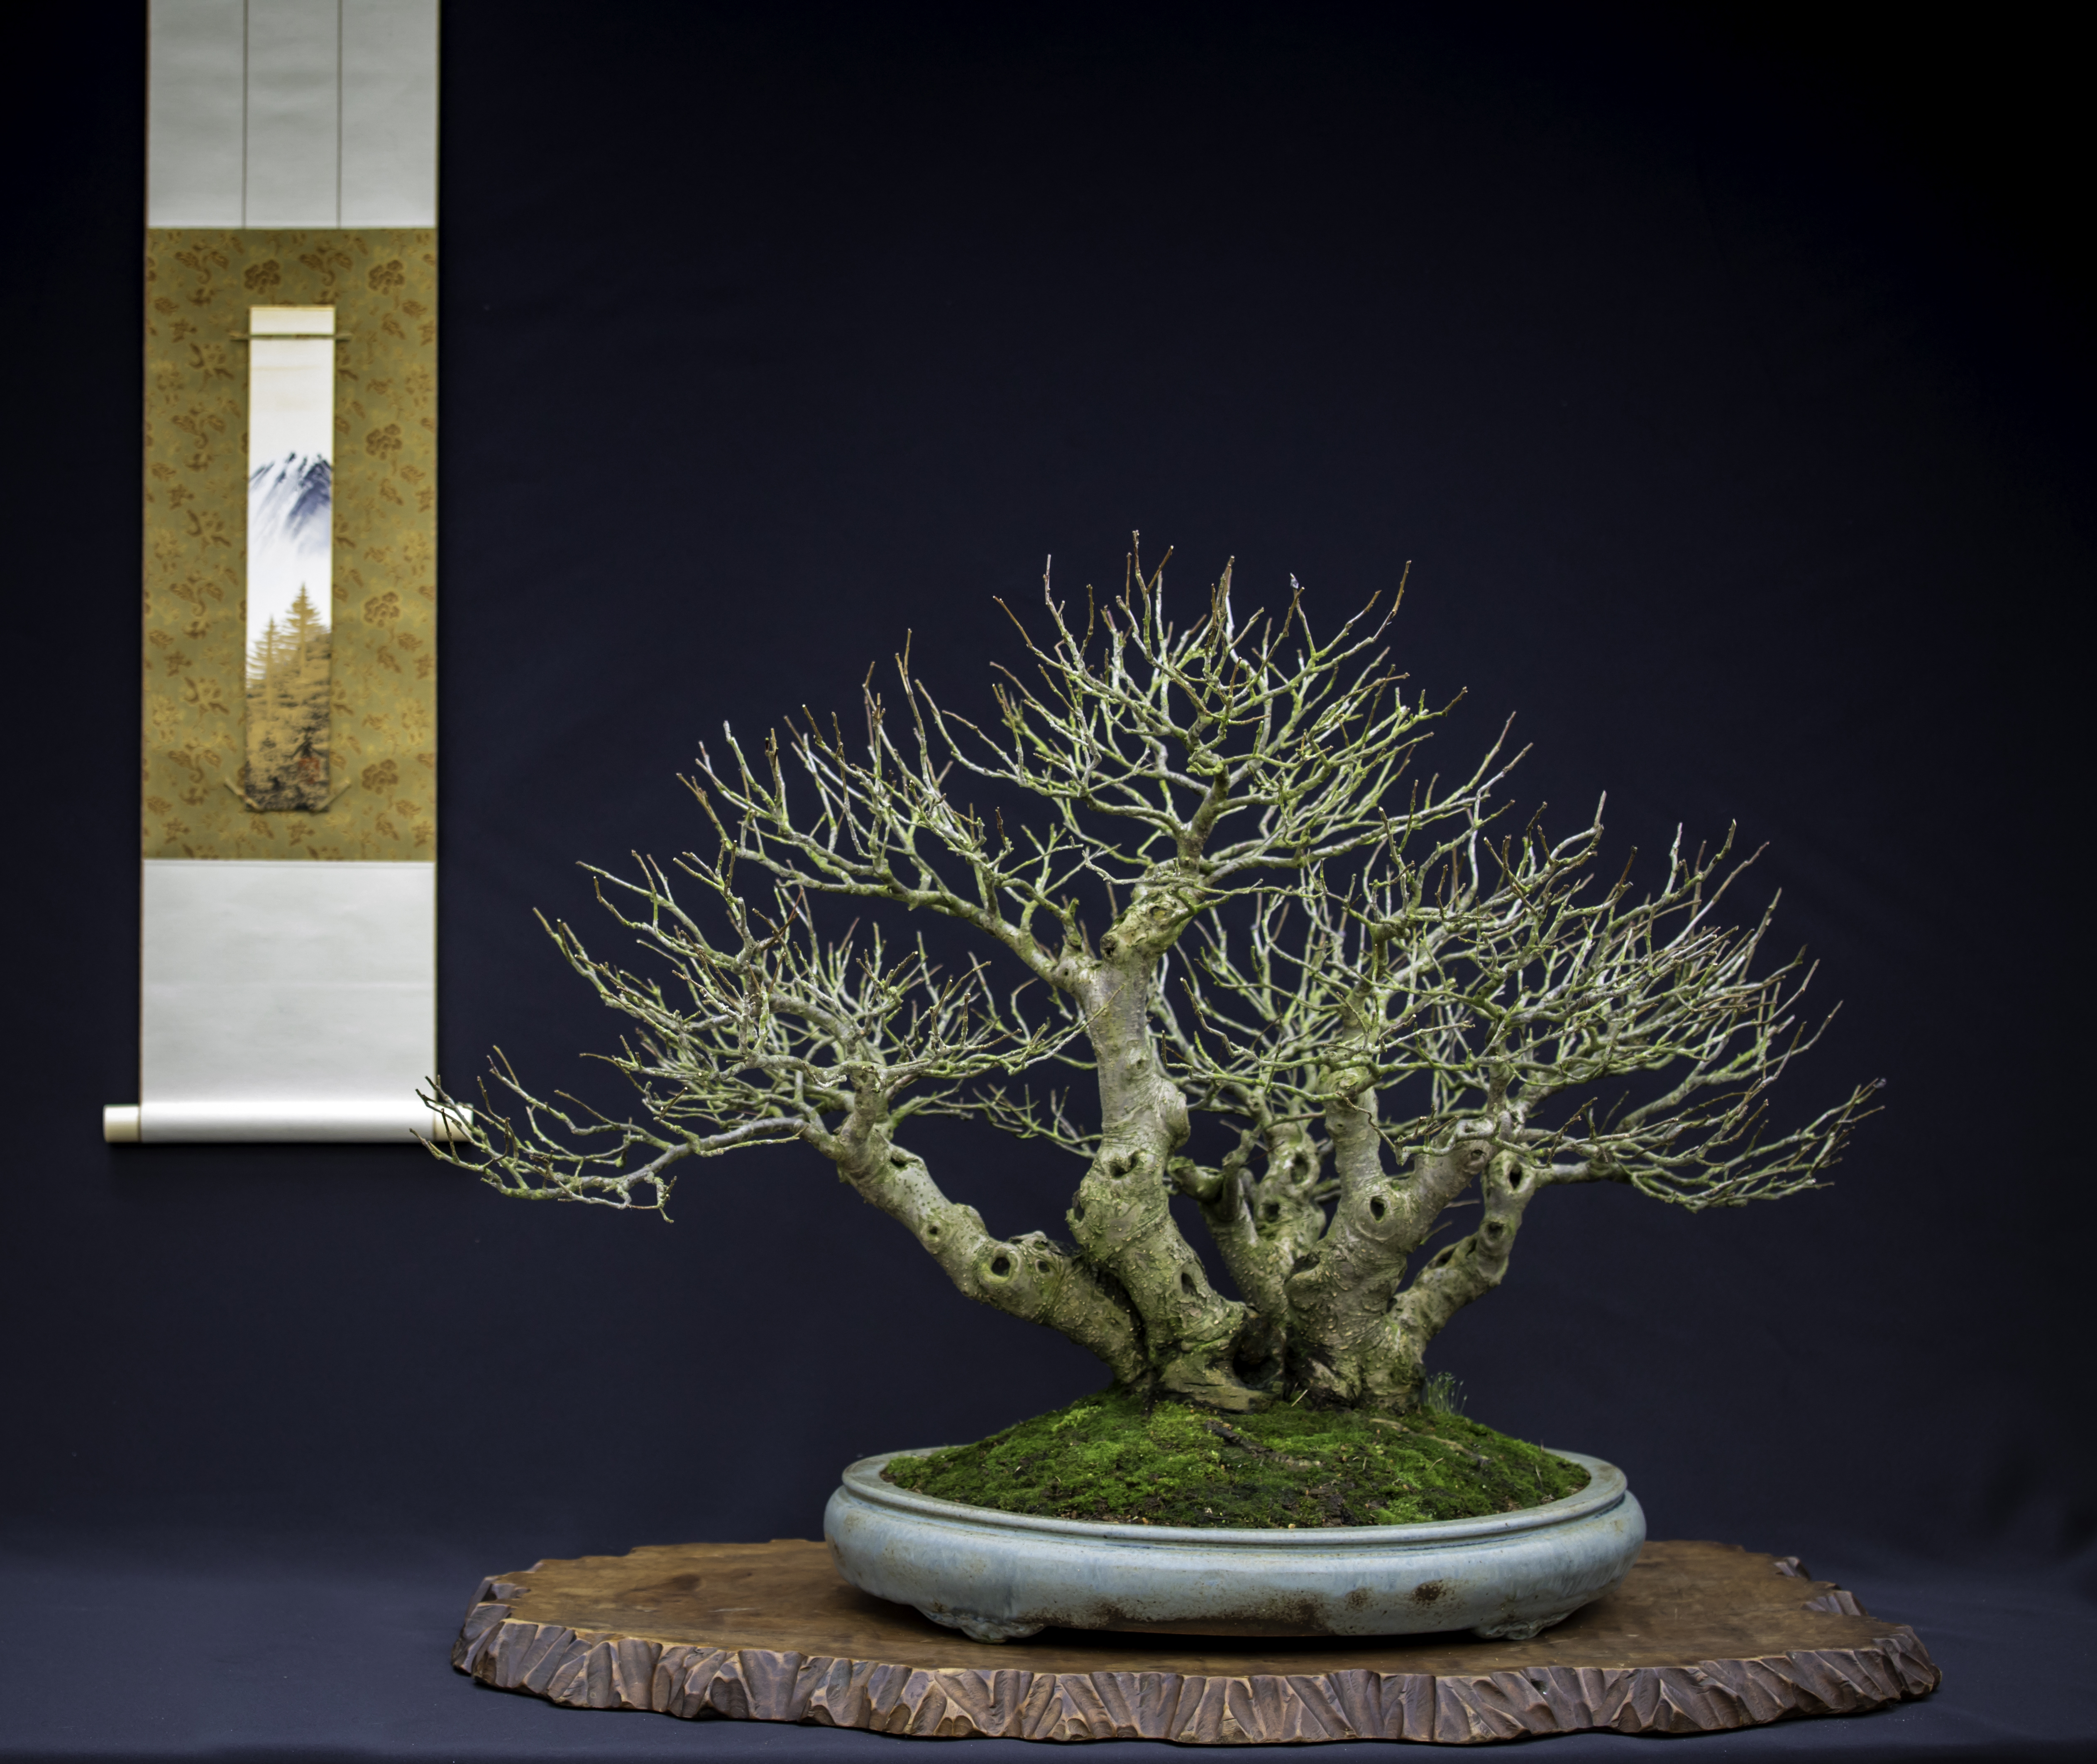
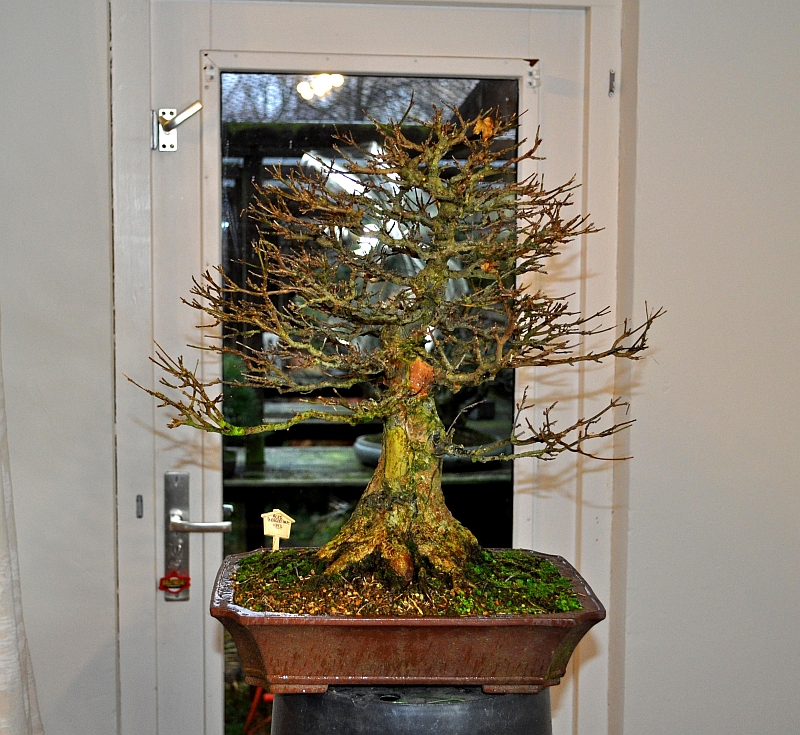
Below: This Fat Boy Acer buergerianum has been in my collection and care since 1997! Then it was just a trunk with a few too-thick roots on just one side and a few very thin misplaced branches and a lot of ugly and poorly health scares all along the trunk! Since then it has grown almost twice in size with a completely new top and branches! The Nebari is much much better now and looks amazingly strong and in balance with the whole tree! And now it is time to bring back the balance in all the branches so that I can steer and regulate the growth of the whole tree!
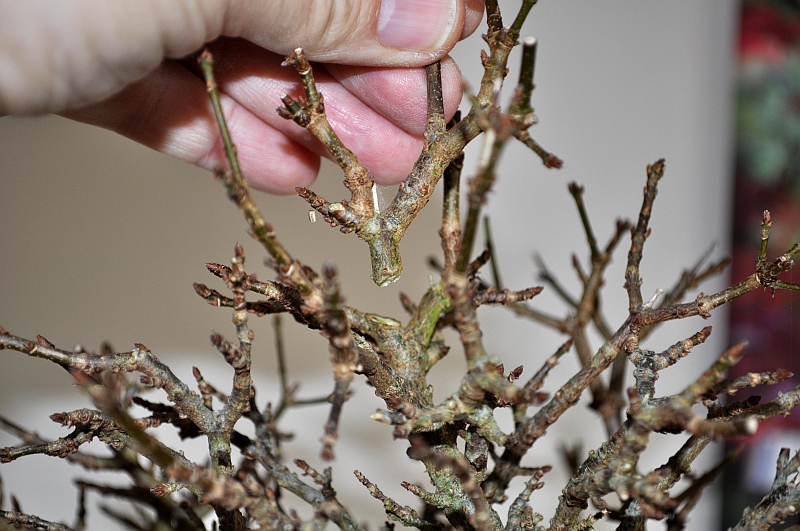
Below: This branch that grows from behind the planned top section was allowed to grow straight and thick to thicken the whole top section! That is more than enough by now so it needs to be cut back to the suitable small side branch that you can see on the right bottom side of it!

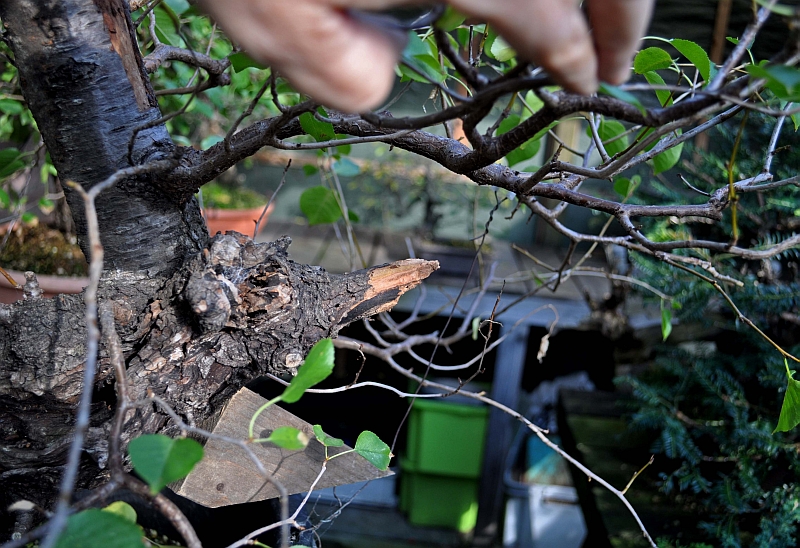
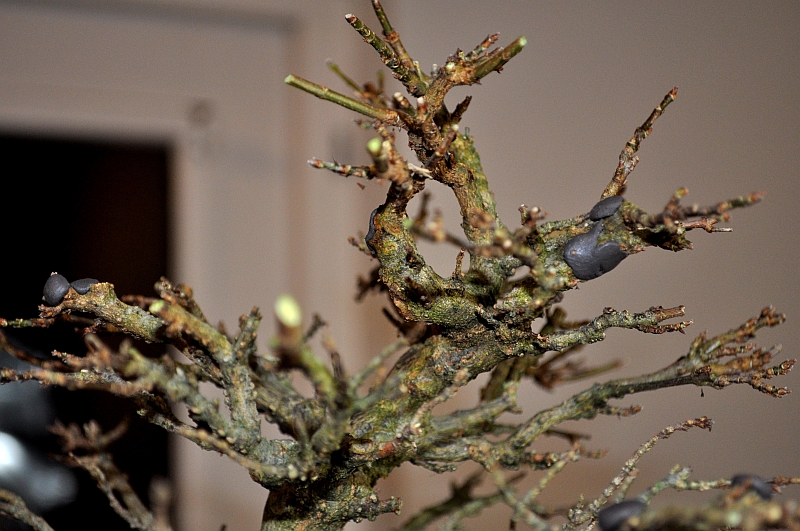
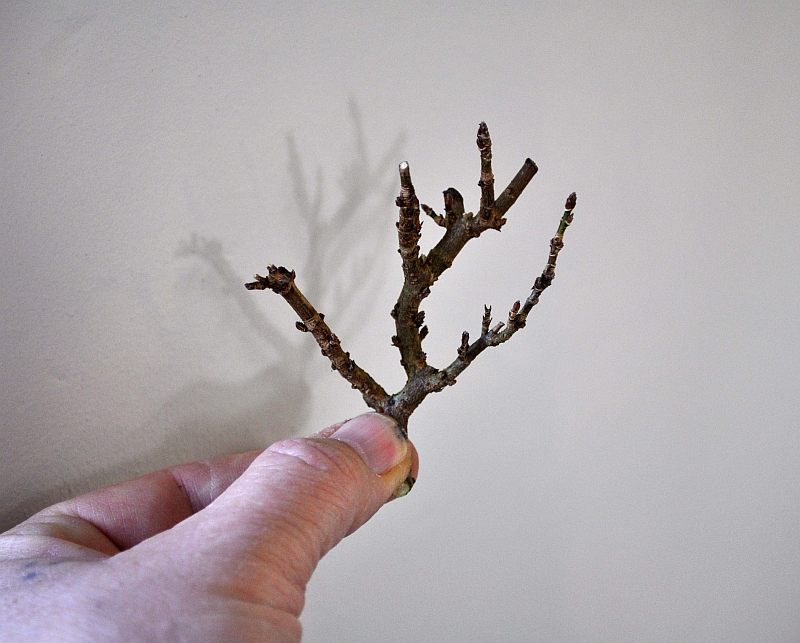
Below: My finger point at another example of a branch that was allowed to lengthen to thicken the whole branch! Now it will be shortened right to its base so that the branch under my finger will become the new branch tip, restabilising proper branch tapering!

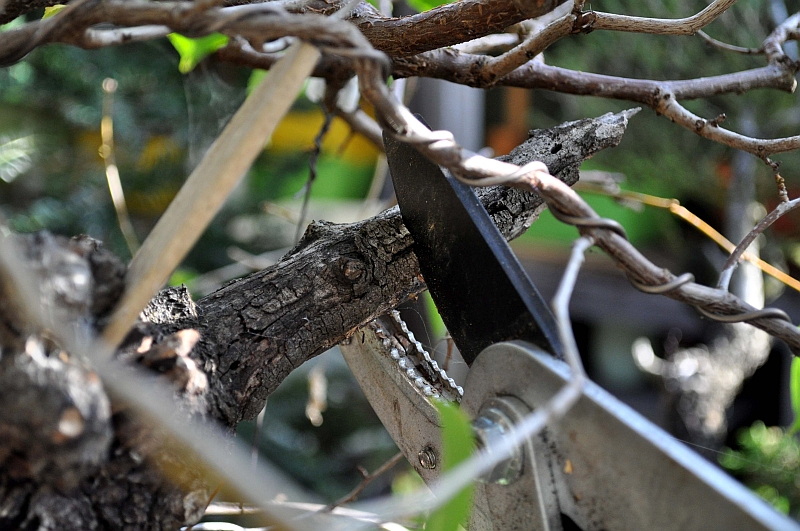
Below: The cut-off branch thickening machine!

Below: A close-up of the top section showing just how much is shortened and removed.
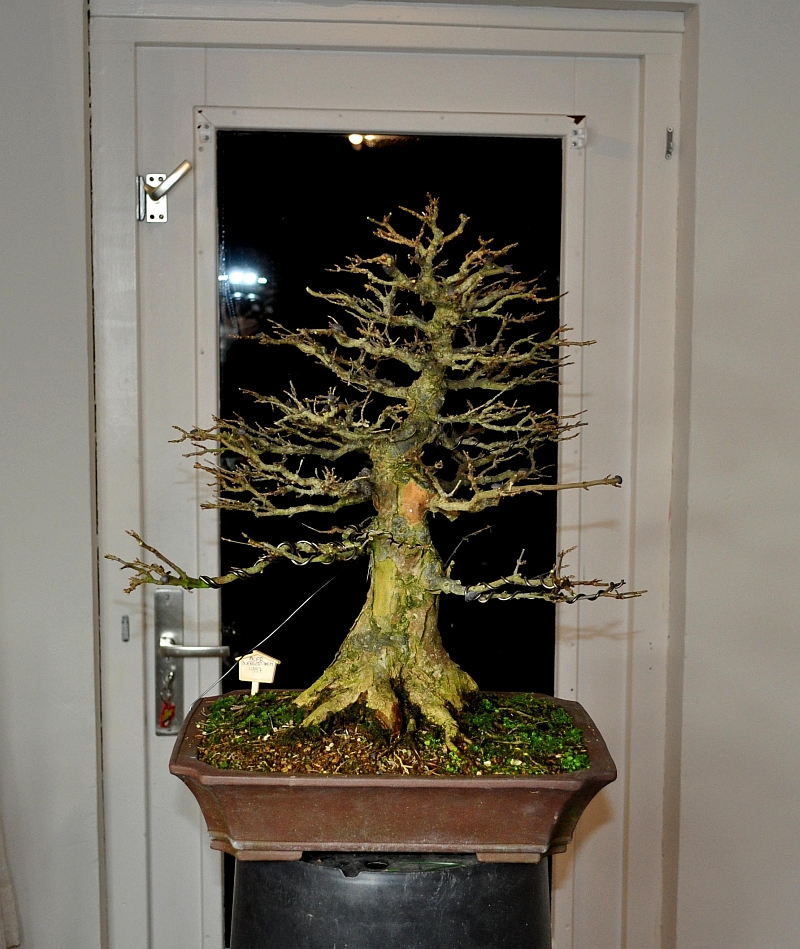
Below: The end result for now. Other branches were cut or shortened to improve the tapper or branch structure. After all that the overall image and balance of the whole Bonsai are restored. The two bottom branches are wired back into their places. These last two were the last couple of years allowed to grow in thickness and now they need to grow side branches and a proper branch structure!
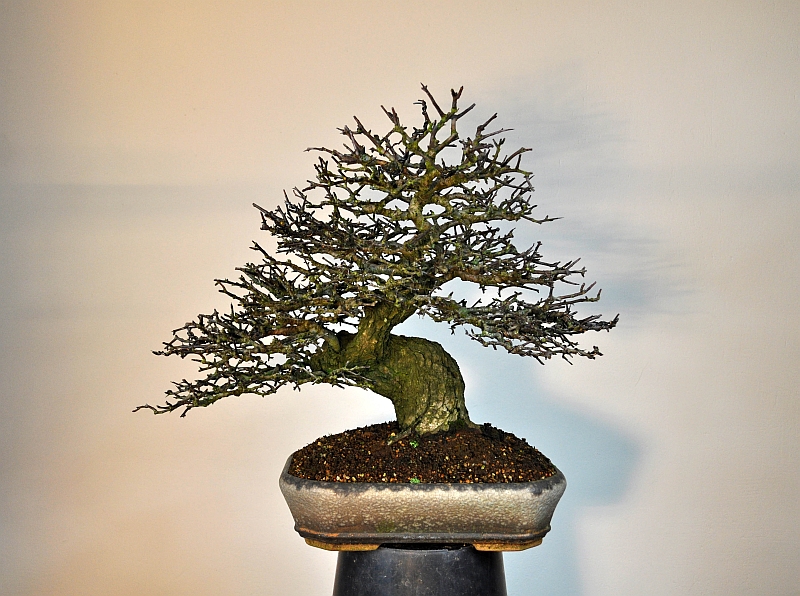
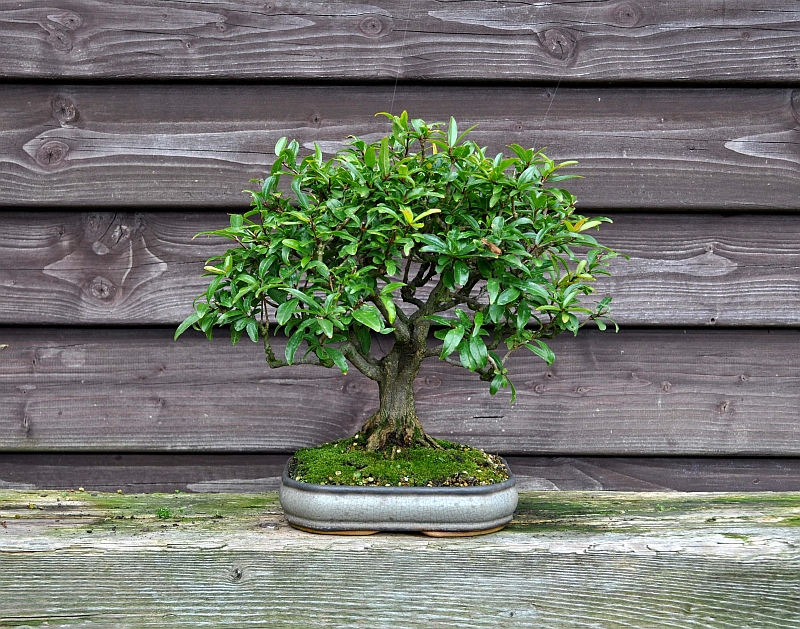
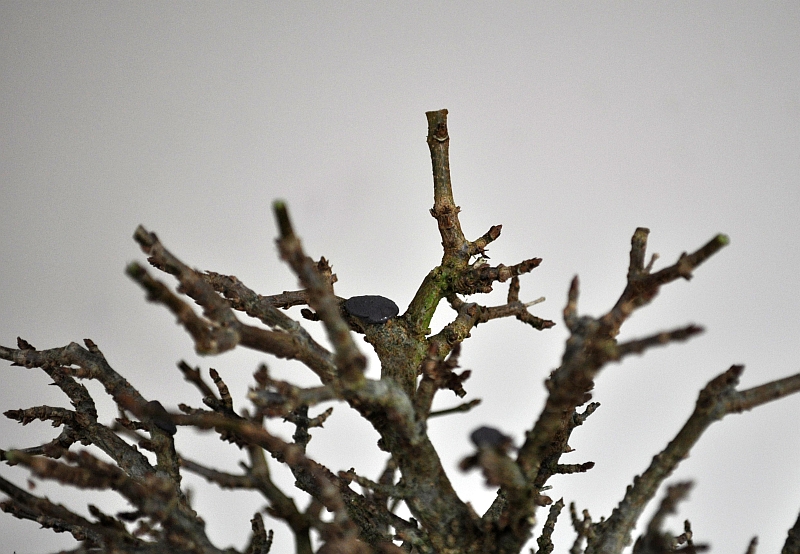
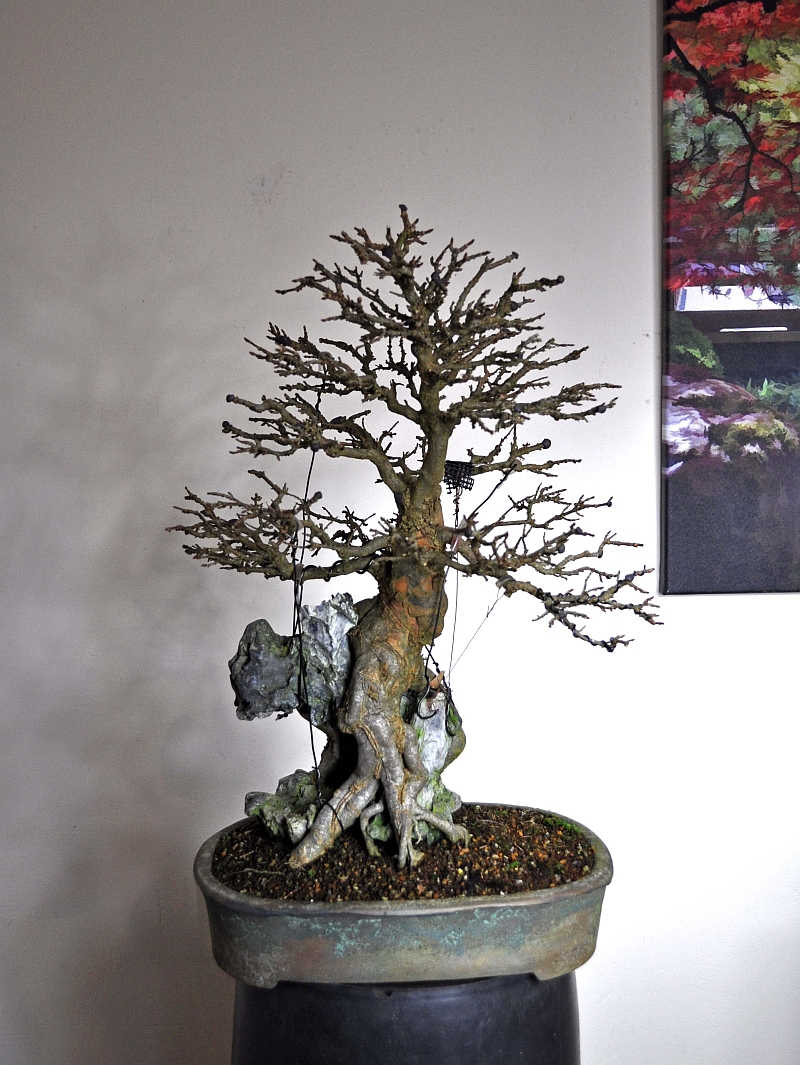
Below: This roots over rock Acer buergerianum from Japan has been in my collection for some 20 years now. When I bought it all those years ago it had a few short and thin branches without any structure and a really short top section! Now after all these years the basic branch structure is getting better and is it about time to do some more branch refinement and selection to improve the overall image and promote better energy distribution throughout every section of the tree! This way sunlight will reach all parts of the tree and that will tricker more back budding and that will lead to better ramification, foliage and overall health of the tree!

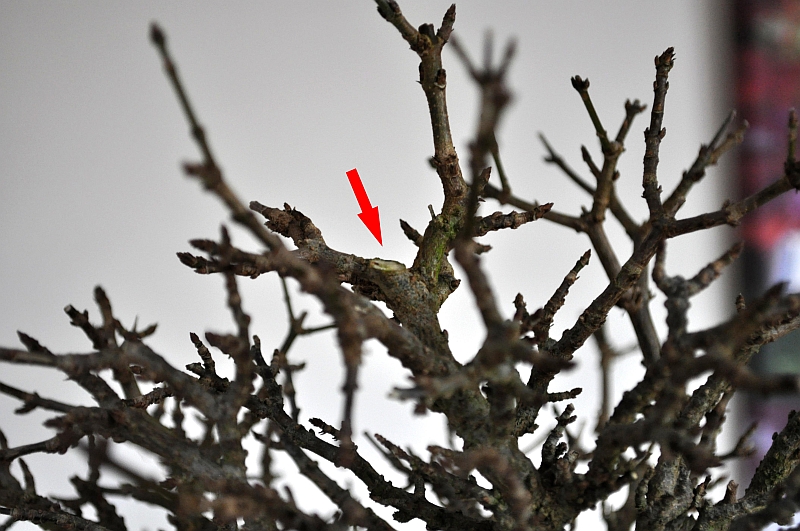
Below: An example of how this works. The arrow points at a too-thick and strong branch that is also placed in the armpit of two better-suited branches…so it needs to be removed completely!
Below: The too-thick former top was removed! The wound will, of course, be sealed with cut paste.
Below: After it is removed I am left with on the left a short slightly thicker side branch and on the right with a perfectly tapering top… and some nice movement as well!
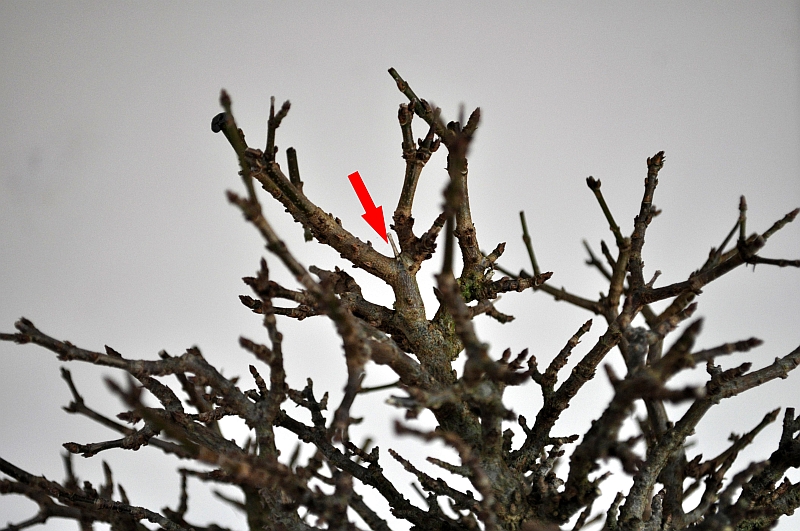
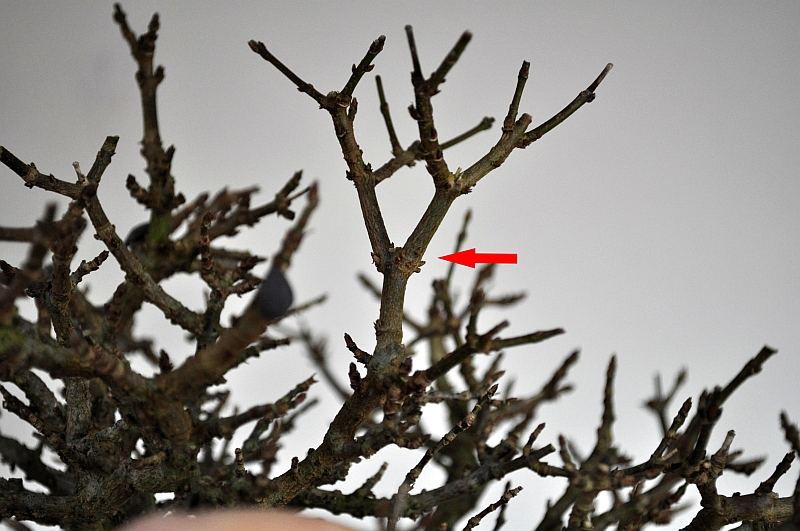
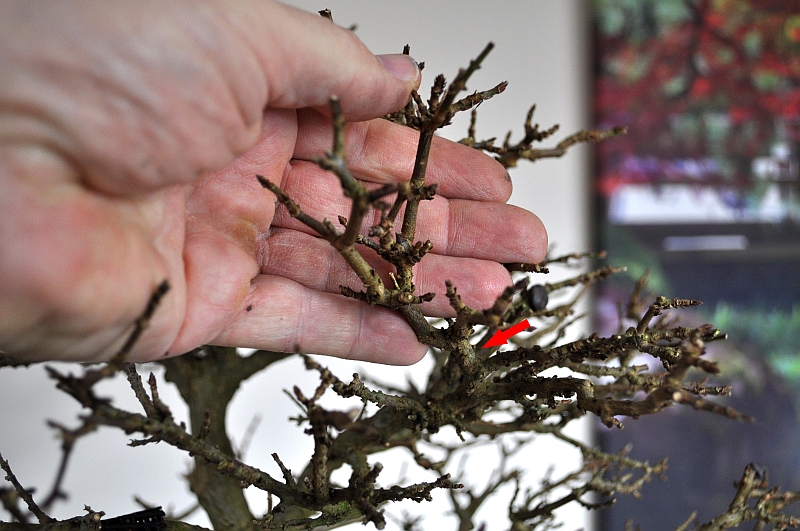
Below: The red arrow points at a branch that is too fat, straight and long! The branch is at the height of that arrow just as thick as just above that pink piece of my finger at the bottom of this picture…so now taper!!! So I will cut it off just above that first strong right-side branch below the arrow.
Below: Cut off, creating an instant taper to that branch!
Below: Another branch that is removed and sealed with cut paste, creating an instant taper to that branch!
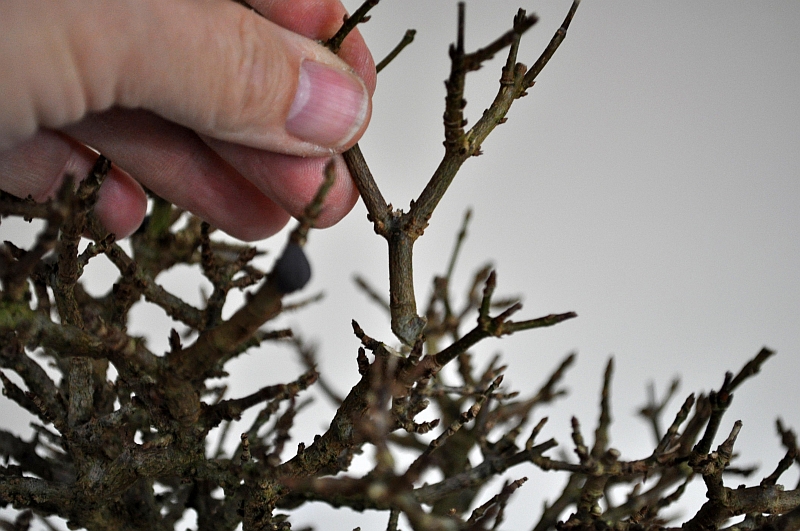
Below: Another one that needs to go in favour of the one that is in between my fingers. That last one will then be shortened to just above a strong bud.
Below: This branch is well shaped and with good taper…but it growing straight upwards and looks like a second apex…so you guess what? It has to go too!
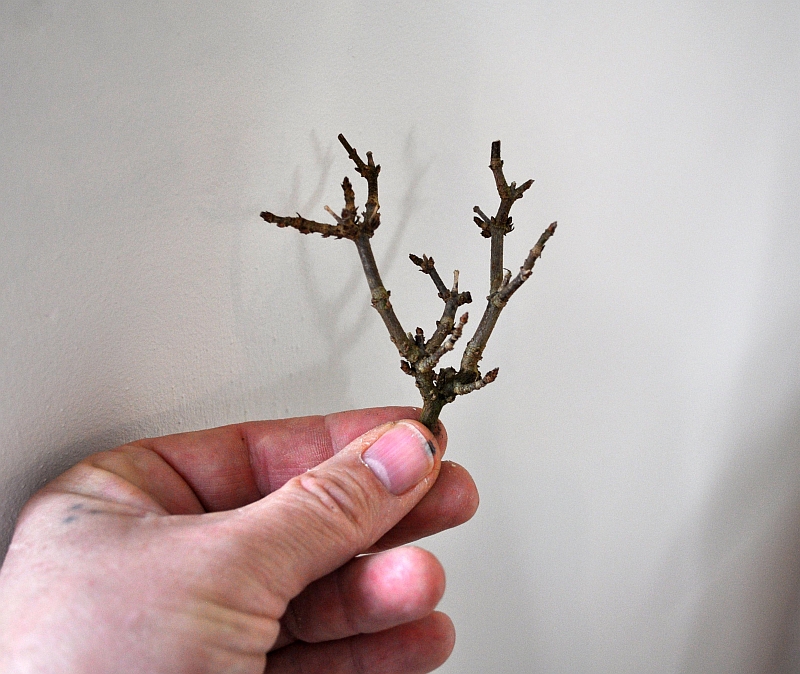
Below: The cut-off branch.
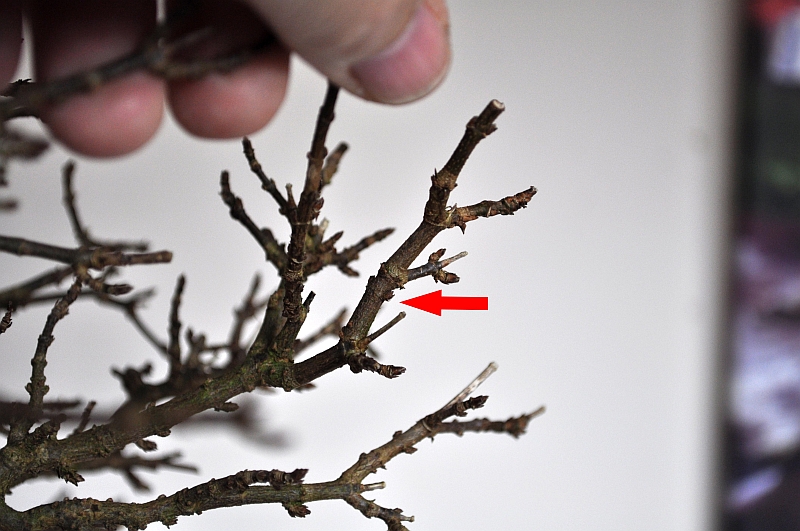
Below: Arrow points at another to long branch with not enough taper. It will be cut back to the nice side branch, just left below the arrow.

Below: That branch cut off.
Below: This branch grows just below where two others originated from, in time that will turn into a nasty bulging section on the trunk! I need those branches above this branch in my design…so it needs to go to prevent something that is hard to fix when it is too late!

Below: Close-up of the almost finished top section. A lot has improved and the future is promising again for this tree. These actions will over the next couple of years bring it closer to the desired outcome, a Bonsai with good mature and beautiful ramifications. And that is a great part of a successful deciduous Bonsai…a part that is so often forgotten in modern Bonsai!
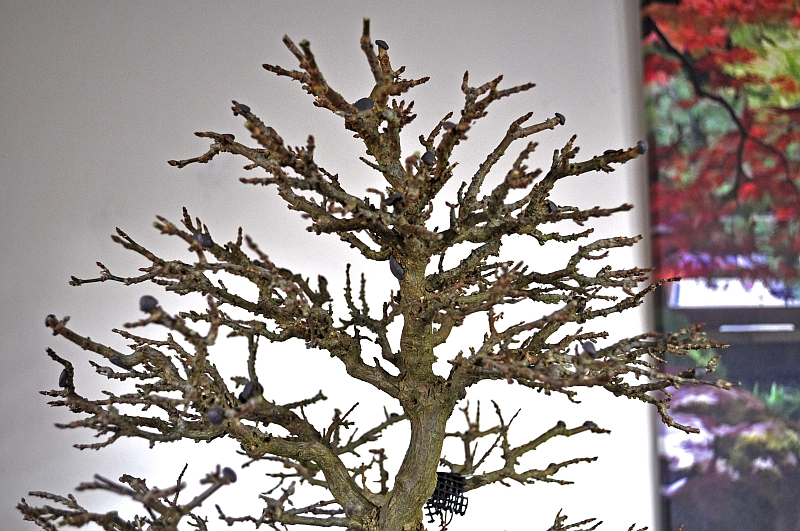
Below: Not the best of pictures but I hope it shows enough of how the ramification looks after all the work?! From here it will be more working towards improving the finer ramification and structure of all the branches. I am happy to see that this long partnership is getting closer to the image of a mature Bonsai…I can’t wait to see how it looks in a few more seasons’ time!
I hope you enjoyed this little post?!
Cheers,
Hans van Meer.
Info: karamottobonsai@hotmail.com
———————————————————————————————–