A few days ago while browsing through the pictures on an old cell phone I came across this picture of myself and my dear old Belgium Bonsai friend Willy Evenepoel. I met Willy for the first time in 1997 at the very first edition of the legendary and trendsetting Ginkgo Bonsai Awards in Belgium. Willy was the designated Bonsai photographer and his lovely wife An took care of all the important paperwork that came along with all the 110+ Bonsai that needed to be photographed during this 2 days event and their 110+ nervous owners! This meant 3 days of very early starts and very late finishing! But always with a smile and time for a talk while working! Their devotion and long hard work over all those years resulted in 3 beautiful Ginkgo Awards books and 7 Noelanders Trophy books! And for all that years-long friendly commitment I wanted to honour these 2 special ‘Bonsai lovers’ friends who worked so hard all these years to bring the very best out of our precious Bonsai so that they can be seen forever!
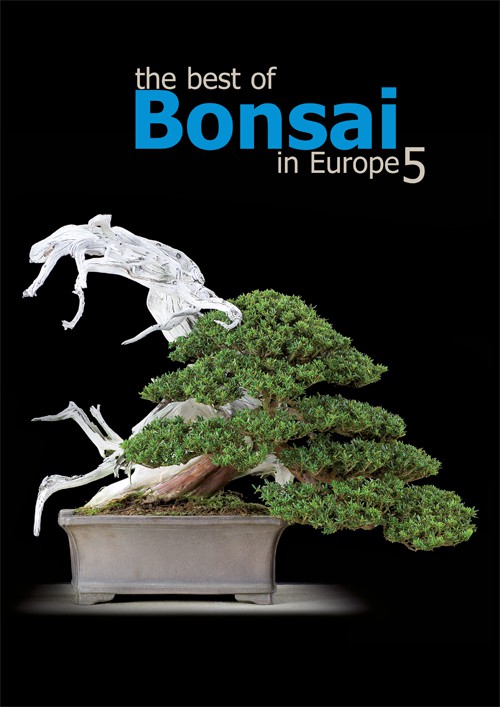
Below: is one of the “The best of Bonsai in Europe” commemorative books.
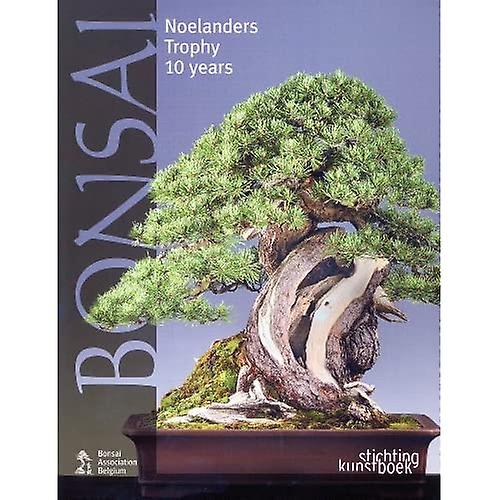
Below: is one of the “The best of Noelanders Trophy” commemorative books.
Thanks, Willy and An Evenepoel for all your years-long hard work and devotion to highlighting our babies so beautiful!
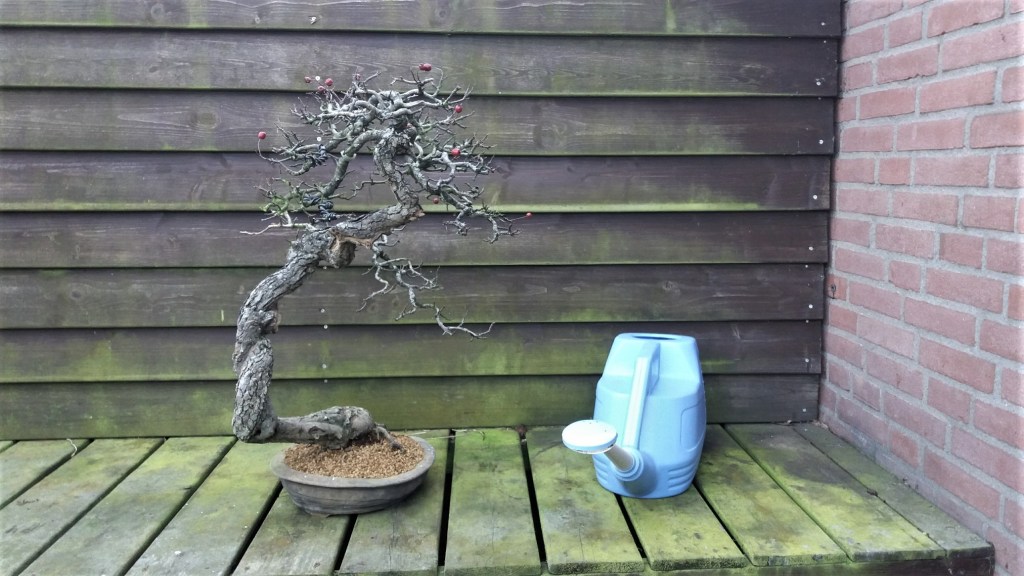
One morning last year I found this welcome visitor relaxing on my big Yamadori 5 trunk Fagus raft and just had to quickly take a picture of him with my old cell phone. Hope you like this poor shot as much as I do?! It’s freezing here tonight and snow is predicted! Poor just repotted trees!
The problem with Mugo pines is that they almost always bud back at the base of last year’s needles or even older ones! That is good and bad news for us! Good news: because as long as there are still strong older needles on a not-too-thick branch then in early spring we can cut it right back in between those needles as long as there are sufficient needles left to promote new buds from! Bad news: because it means that for a Mugo branch to back bud, we have to live with a rough and unrealistic-looking Bonsai with branches filled with needles from the base to the tip! Now we can decide to pluck them off and leave a bunch of them in places where we would like buds to appear! But that simply looks ridiculous and would make wiring difficult! So what to do? Well every now and then we have to style or restyle our Bonsai and need to wire the branches of our Bonsai…imagine doing that with all those needles still on there! So we pluck them off leaving just enough to with the help of wire create our famous pine Bonsai branch tips that we all know so well! So that is what I did all those years ago before I restyled Z my Mugo Pine Yamadori for the second time when she had branches with short internodes and beautiful short needles. But first a bit of history:
Below: In March 2002 I was invited by Mark Noelanders to do a demonstration at his then Bonsai club B.A.B in Belgium! So I had to find something special to entertain all his knowledgeable students! After visiting all the Bonsai dealers in the Netherlands I ended up at a Bonsai centre deep in Belgium where I found the, to say the least, weird France Yamadori of this story! This tree was a real challenge and risky… so perfect for this evening’s demo! But the guy who sold it to me was clearly surprised that I even looked at this tree! And was clearly happy that I bought it from him!
Below: After 2 hours of hard work the birth of Z is finished.
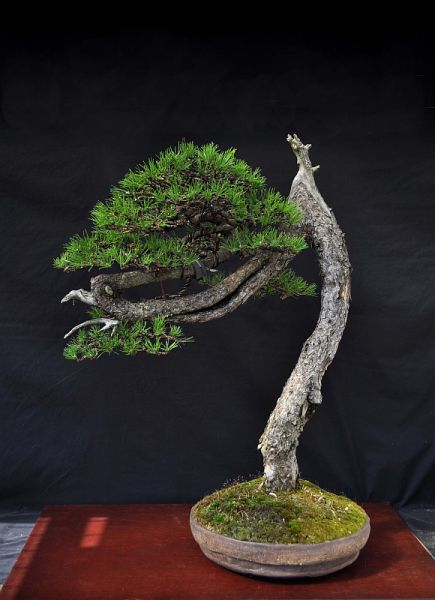
Below: 10 years later in 2012, I restyled her again completely! She then looked at her best with those short needles and clear foliage peds! Pot: Brian Albright (UK). It truly is a big transformation and one of those trees that I am really proud of! Back then I should have entered her in an exhibition!
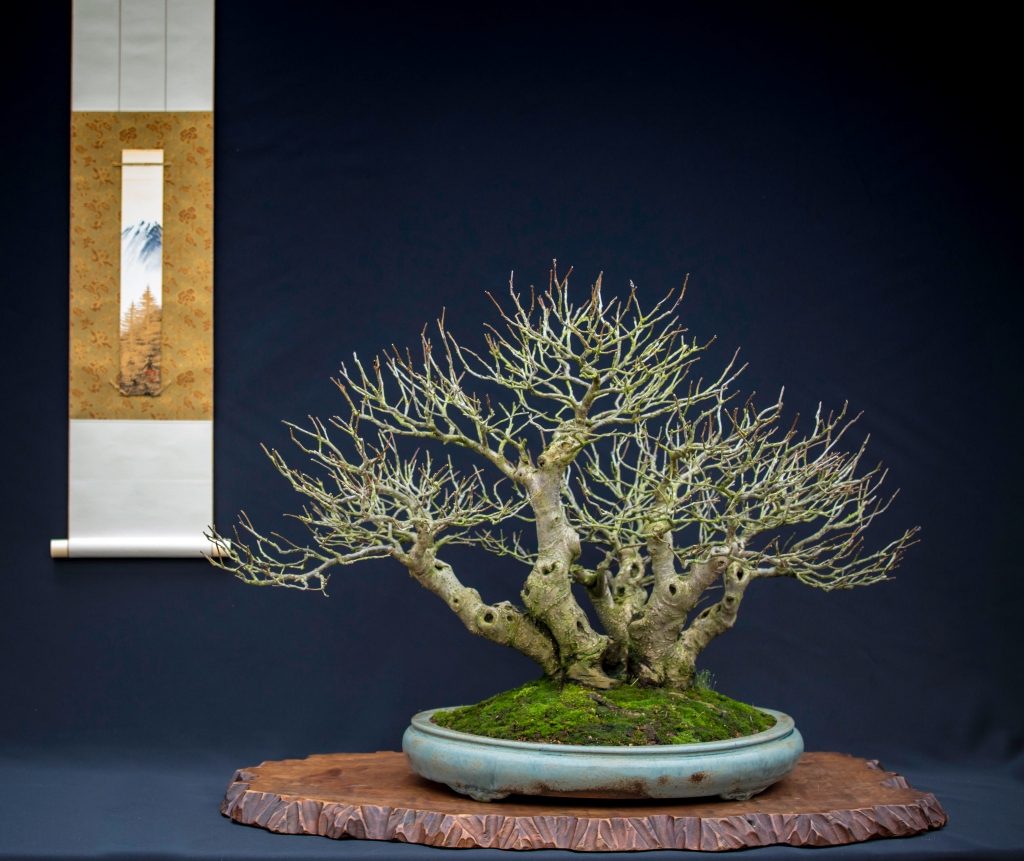
Below: And fast forward another 10 years to the present day 10-2-2022. Oh, what a tangled web we weave! Z desperately needs a serious haircut where usable foliage-baring branches are cut back as far as possible to where there is healthy and strong secondary new growth. And unusable branches (too weak, too long and/or too thick etc.) will also be removed. She is healthy and her needles are still short though and that’s a really good thing!
Below: 30-3-2022. This is how she looks after most too-long and bare branches are removed or shortened to where there is healthy new growth. That bottom left-side hanging too long branch most probably will be cut back or turned into a Jin?!
Now she will be wired completely so that she can be restyled. During that styling, some more useless branches will be shortened or removed to give her back her looks! So watch this space for the outcome! Cheers, Hans van Meer.
Today was a beautiful day to take the time to place all the branches that I wired on Wolfie earlier in their places! By turning, lifting and angling Wolfie I decided the best (possible) new angle and position. Little pieces of wood were placed underneath the pot to bring the tree to its best future potting position! Some old branches had to go and the rest of the branches and foliage were brought in place with the help of bottle corks, cut-to-fit wooden paint steering sticks and rubber cubs (that were cut out off the sole of my old beach flip-flop slippers! This bringing in place was by now means an easy task because Wolfie grew very slow in a place with hardly any vegetation on top of an enormous boulder rock in just a few inches of very hard old soil that was made up over many decades out of his own shed needles! That and being covered by a large pack of heavy snow during the long Winters followed by a short very hot Summer and nibbling goats made that the now very old and unbendable branches had grown in a curled-up way covered with old deadwood! And believe me, they are unbendable! I made these curled up very old branches with their old cracked bark and full of deadwood (Shari) the main focus point in between the opened-up top foliage section!
Below: I found this picture of Wolfie from September 2012. So this is how he looked 10 years ago!
Below: 10 years later: Close-up of some of the natural curled-up old branches.
Below: Too-long tin branches with only one or two candles at the end were removed. An older thicker one that grew from straight forward in your face was also removed to open up the foliage for the viewers so that they can better admire the curled-up old branches, trunk, bark and deadwood of this little old tree! Wolfie has shapeshifted into a new exciting image and is settled for a few growing seasons! It only needs to be repotted in this same pot, at a different angle…but that’s for later! I hope you like “Wolfie’s” new look?!
Below: Acer buergerianum growing over a rock that has on the left side a little natural pool. This one is with me for well over 25 years!
Below: I met my dear old friend Tony Tickle way back in the mid-nineties during the very first edition of the famous “GINKGO AWARDS” in Belgium and we instantly hit it off! That night at the gala diner I told Tony that there are hardly any good Yamadori to find in Holland! An amazing hour or so later filled with Tony’s yamadori stories, I was invited to come over by car to the UK to collect and have fun with him and Terry Foster! So I drove to the UK and had the time of my life and had the pleasure to get to know these now almost 3 decades-long friends! And the first Yamadori that I ever collected is the Taxus below! In her Bonsai past, she was shown in some prestigious Bonsai shows and it makes me sad that she has been doing poorly for a few years now. Bud now for a few years, she has been slowly recovering from being weak!? And she is still not their jet and I preferred to not have to transplant her just jet…but she is seriously potbound and that might be the reason why the foliage stays weak! So I will have to take an educated risk and give her a trim, and some fresh soil and hope that it turns out to be the right choice!
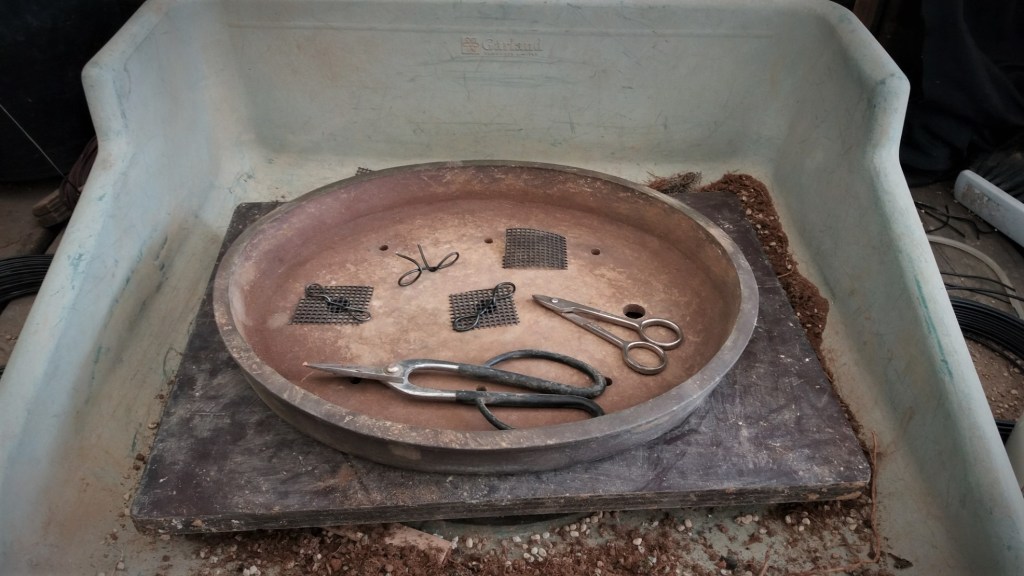
Here are some more cellphone pictures of the repotting that I did during the last couple of days. I kept it at doing only 2 trees a day to keep the amount of …well discomfort doable for me. It is also a safeguard to keep it enjoyable for the future! So here we go! Below is a tip: this is how I bend my little wire hooks! In this way, there is no change of roots lifting up the mash that covers the hole! So make sure to save those little leftover pieces of wire that are always there after a wire session and use them to make these hooks! Below: prepping the pot to be reunited with his buddy: my Ulmus parviflora. This old Lady is my third Bonsai and now 32 years my girlfriend. She has grown from a skinny jong teenager into a beautiful natural old looking “Grand dame”!
Below: Just look at that old colourful base and roots (Nebari).
Below: How is that for a firm grip?! It has grown into a big small tree! Just look at that flaky colourful old bark and roots. Beauty comes with age!
Below: This Taxus/Yew is with me since ’96 or ’97 and was a gift from my main man: Tony Tickle when he visited our house back then. There was a lot of joking around when I noticed that the tree had a reverse taper underneath the soil line! But you should never look a Giffen horse up the ass (we are Dutch and talk dirty a lot!) and fit it against a beautiful white Hardrock stone from Indonesia that had been lying for years on the gravel floor in my garden! And would you know: it was a perfect match!!! And they have been living together for almost 25 years now! On the bottom left side of the picture, you can see the stone!
Below: Back in its pot in fresh soil and leaning again on its Hardrock buddy!
Fact: A Mugo pine hardly buds back on branches if there are no older needles left on them! They almost only bud back randomly against/next, strong and healthy older needles! So before you are thinking of styling your virgin Mugo material and plucking out/off older needles…you better start thinking about first promoting some back budding on the branches where you need new secondary and tertiary growth! On these (mother) branches you leave as many needles as possible to promote back budding and if you want to already wire these branches anyway…well with some extra care to avoid as much as possible to cruse those needles, well then you can still wire and bend those branches without much harm! By doing this you increase the chance of back budding enormously! Working this way for a few years or more you can promote back budding and thus the change to later shorten branches to where you now have new buds that later will become small new branches! Only then you can start thinking about removing older needles! But if you want more buds and the needles are still healthy and strong then leave them a growing season longer on there! Combining this method with pinching the strong candles will promote the change of new buds on thin branches big time! Cheers, Hans van Meer.
A few days ago I happily started to give my 5-trunks raft Winterberry or Ilex verticillata 5 trunks raft its yearly springs haircut when I noticed to my horror that many small and some ticker branches had died during last year’s reasonably mild winter?! So I had no other choice than to get him out of its beautiful “Isabelia” pot to look if something was wrong with the roots?! And what I discovered was that a lot of the older soil was not all removed during its last repotting and had become compact and socky underneath the large base! Many other roots that did have room had become long, leggy and without many feeder roots circulated the whole pot!
Below: Jan. 2018. The tree in better times during the yearly “New Years” toast at “DESHIMA” Bonsai centre (NL). I was also very proud that he was selected to shine in the prestigious Noelanders Trophy (B) later that same year!
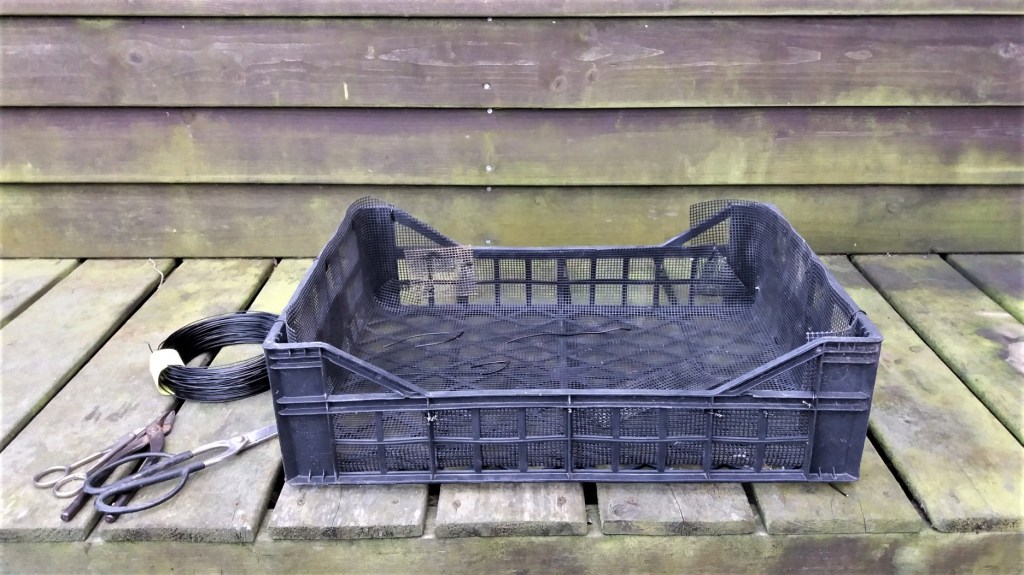
My handmade “air pruning” plastic pot. Some months ago I discovered to my surprise that for no apparent reason a lot of the smaller and even some thicker branches had died back on my 5-trunk Winter Berry (Ilex verticillate) raft. So I took it out of its pot and discovered that the very compact rootball had a lot of very strong fleshy long ones growing around the outside and dos smothering the smaller important feeder roots and blocking the holes in the bottom of the pot! I had noticed a few of these long useless thick roots before during an earlier repotting and simply removed them! He was doing just fine back then and showed no ill effects after the removal of those roots?! So to get the tree back to that former so obviously good health I must stop these useless killer roots from coming back! So I decided to make my own special homemade “air pruning pot” for it to grow in for a season or two! Because, when plants/trees are growing in a pot that allows the air to penetrate through the holes in its walls, like in the makeshift plastic mash pot that I made, roots will never grow to that length and/or thickness. Why do you ask? Because as they grow and reach the bottom and the sides of the pot, they are naturally pruned (dried up) by the air, which forces the plant/tree and Bonsai to sprout new, fresh roots that in turn penetrate deep into the depths of the soil. I had an old open-structure plastic food/fruit crate that has just the right sizes! I covered the inside with the famous black gauze we use to cover the holes in our pots with! 1 mm wires were used to hold it in place. Below: The finished makeshift open-air Bonsai container!
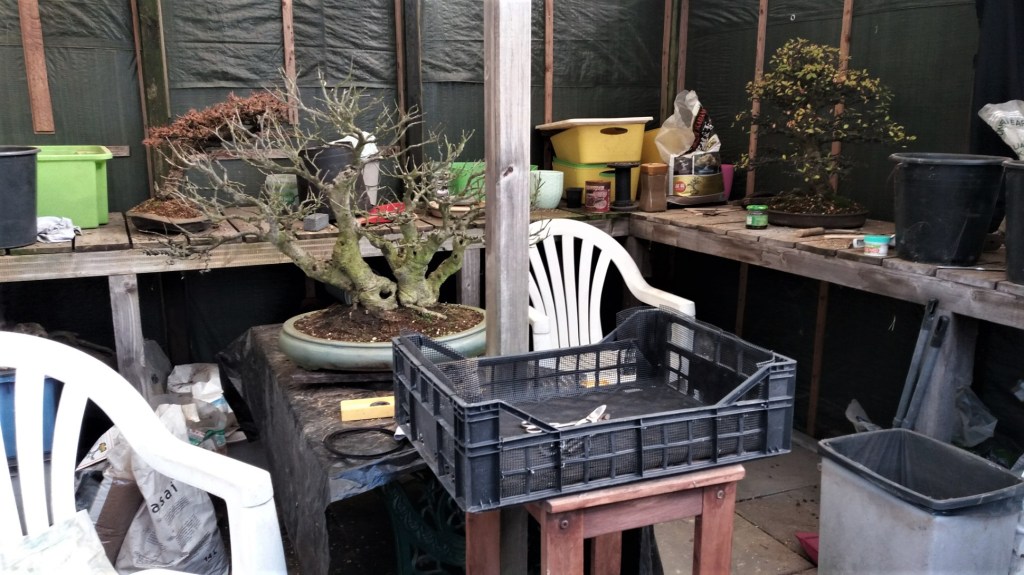
Below: The new air pot and behind it the poor Ilex and in the background two other trees waiting for their turn.
Below: In its new pot just after watering until the water that runs through was clear.
I placed her in a warm and sunny spot and hope that she will recover back to her former health! More re-pot stories will follow soon!
“DESHIMA” Bonsai Centre: Ir Lelystraat 44 2912 CH Nieuwerkerk aan den IJssel. The Netherlands.
Below: This shohin Yamadori Yew (Little Terry) was collected in Walles! It lives in a Brian Albright pot. He has been with me since the mid-nineties… almost three decades now! It was a gift from my dear old friend Terry Foster (UK). Terry and Tony Tickle were very important in my early Bonsai life and I am very grateful for all that they did for me out of pure unselfish friendship! 🙏👍
Below: My old Acer palmatum deshojo in the middle of her yearly haircut. She has been with me right from the start of my Bonsai life in 1990 and has since almost doubled in size!
Below: My Literati Hawthorn that I collected in the mid-nineties on a collecting trip with Tony Tickle in Walles. I have been fortunate to show her in many big Shows like “Noelanders Trophy” and “Ginkgo Awards” both in Belgium. It now lives for more than two decades in this beautiful pot by my dear old friend Brian Albright (UK).
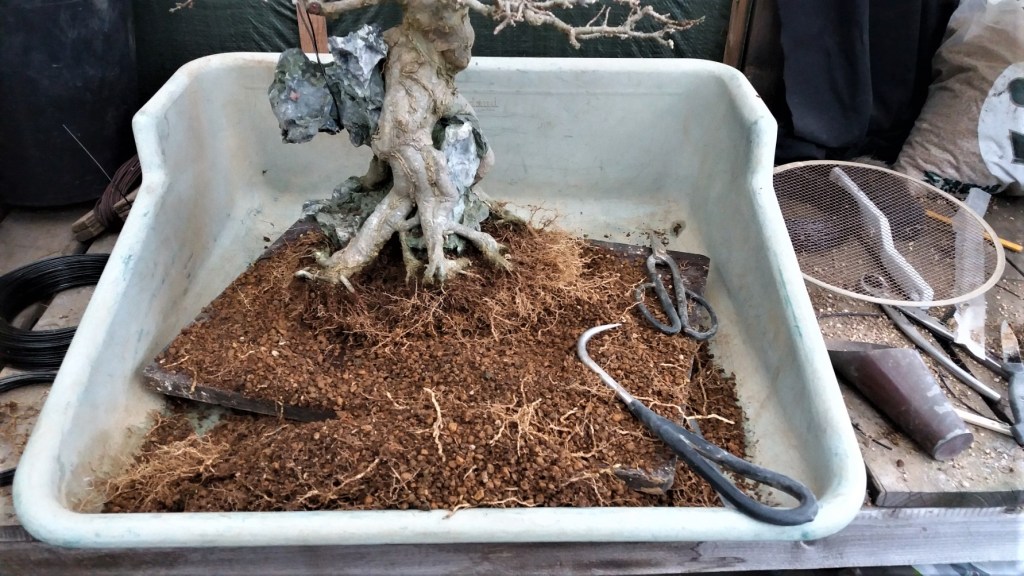
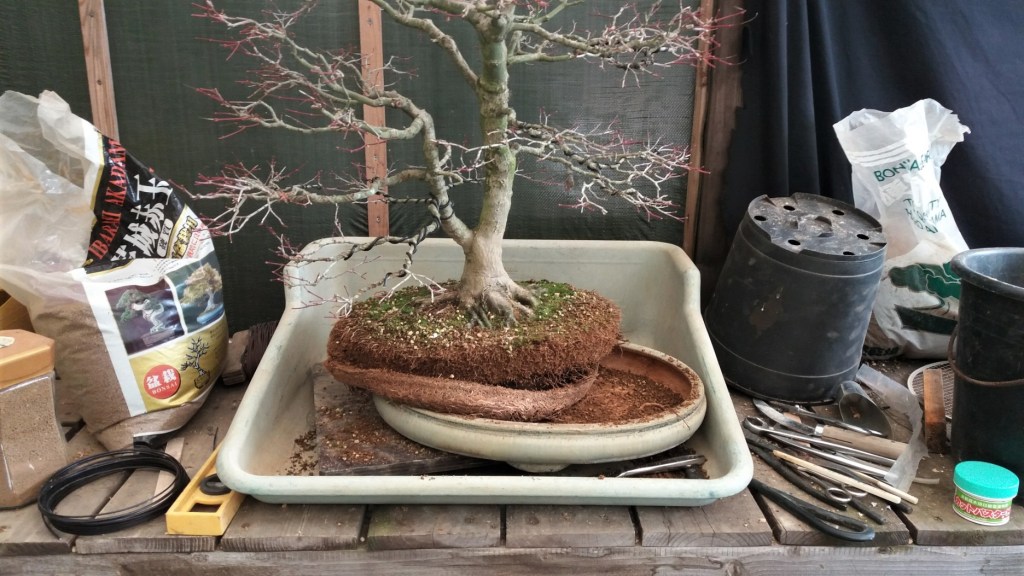
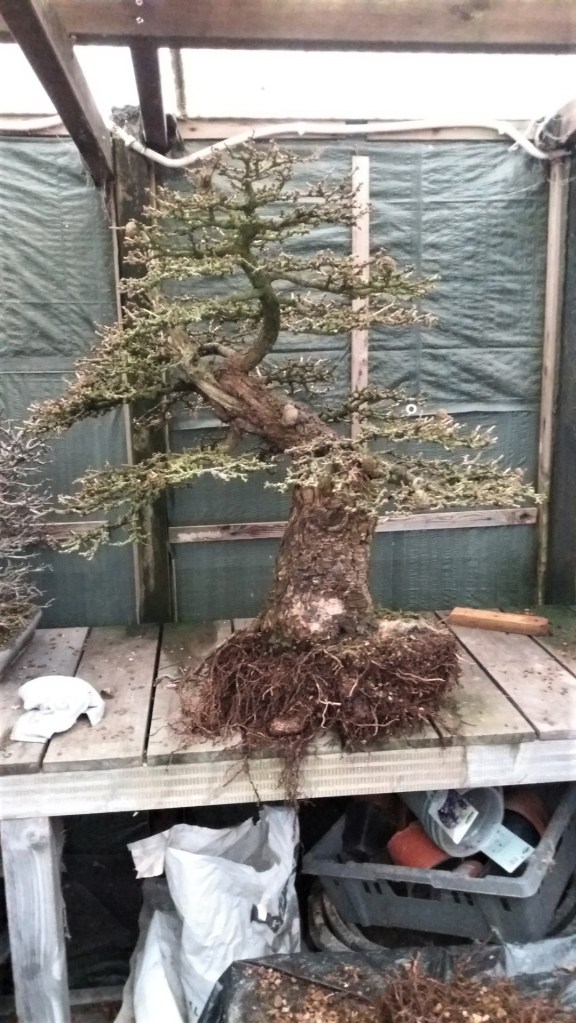
Although he was and still is doing just fine, in several places some long leggy roots had grown above ground that needed attention! So I just wanted to make sure that the pot is not full of these kinds of unwanted roots! It is a large tree in a heavy pot filled with at least 5 bags of Akadama and 10 meters to cross to the place where I repot/work! And now imagine the ego of a proud 61 years old former weight lifter with a bunch of back hernias and weak knees! Well, tree and pot made it alright…I didn’t! It was just too much on my knees (I need new ones soon) and my .. back hurt like a mother…! So today my hurt ego thought: let’s repot him! So I lifted it again, but with attitude now and got that job done. But now I had to free the tree from its years-long home using root hooks, old cake knives and screwdrivers! And that was not as easy as it may sound! It took me more than an hour to create a ditch around the tree. And by laying my left hand on the rim of the pot holding it down, while I with my right hand carefully press backwards against the tree until it is freed from the bottom of the pot! Now I could lift him out of the pot into a large plastic repotting tray. And then start the tedious work of carefully coming out the root and removing the old soil! Long and leggy roots are shortened or removed completely! There are more than enough small roots to assure the tree’s good health. My hurting back and knees were more than happy that I had just enough prepared (sifted) Akadama and Bims leftover from last year’s potting sessions to fill the whole bottom of the pot with, in this case, some 5 cm/2 Inch. Then in the place where the centre of my tree would be, I made with that same soil a small hill of about 10 cm/4 Inch high! Then I place the centre of the tree on top of that hill and start to carefully twist the tree downwards into its desired place! This way you can make sure that all the crevasses underneath the tree are filled with soil! Carefully twist, shift and push until the desired position is reached and fill up the rest of the pot with your soil. And use a chopstick to carefully fill every space in between those roots! Then the wires are tightened some more! Then very anxious and careful for my poor back and knees, he was brought back to its old place where he crew so happy all those years and watered until the water that poured out from the bottom wholes was clear! So I am happy and proud that I made it possible for this tree to stay healthy and happy in my garden for some more years! And who knows what the future will bring…but that’s for later!
Below: XL on the makeshift repotting table.
Below: After he was finally freed from his pot, I carefully combed out her roots and shortened the too-long ones and completely removed the long ones without many small feeder roots on them!
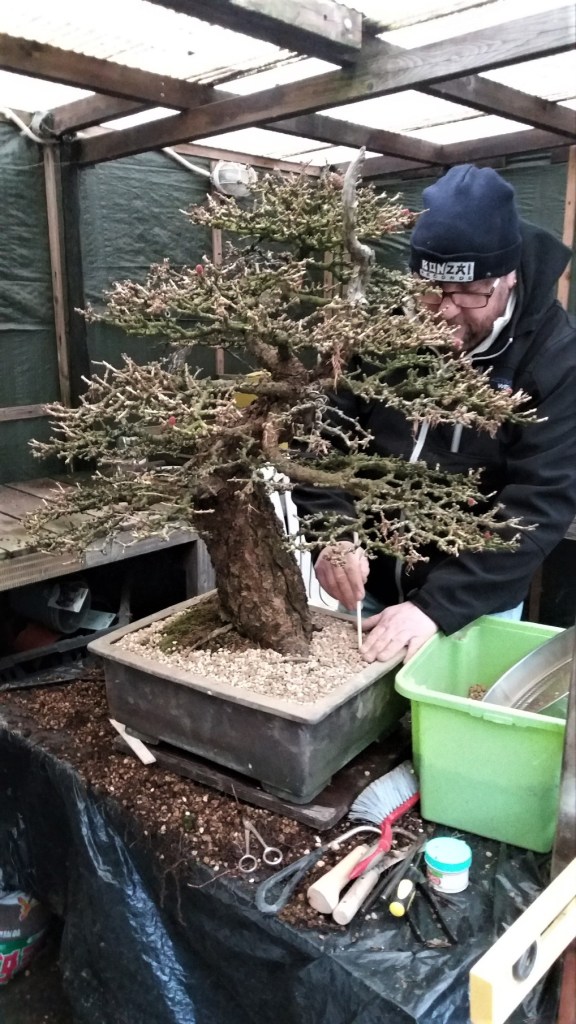
Below: With a chopstick, the soil is carefully pushed and wiggled in between the roots making sure that no air pockets are left!
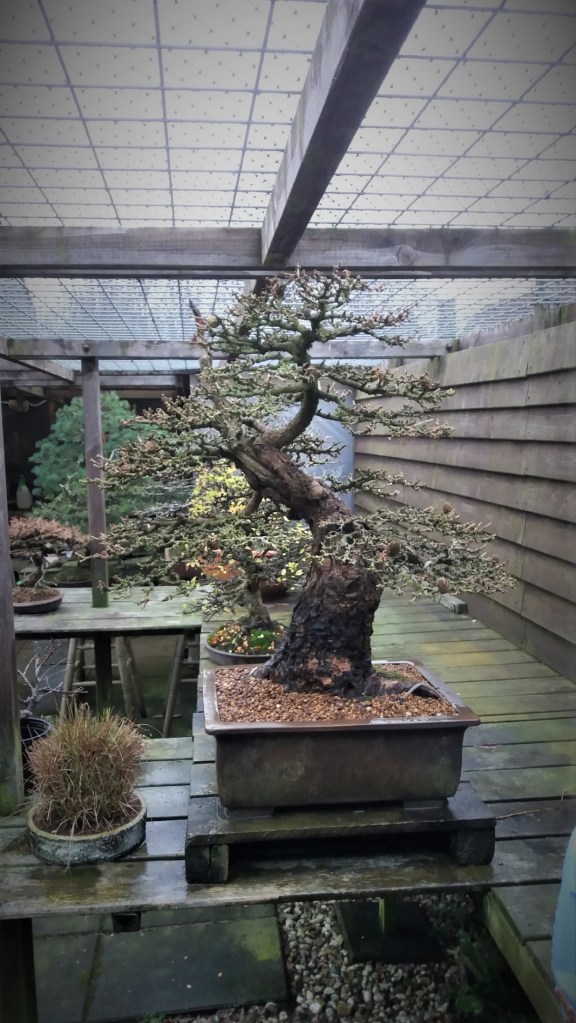
Below: After all the empty spaces between the roots are carefully filled with soil the tree is watered until the water that runs out of the bottom holes is completely clear! He should now be alright for another 3 or 4 years!