
Hi, everybody,
here are some more before and after pictures made by the club members during the workshop.
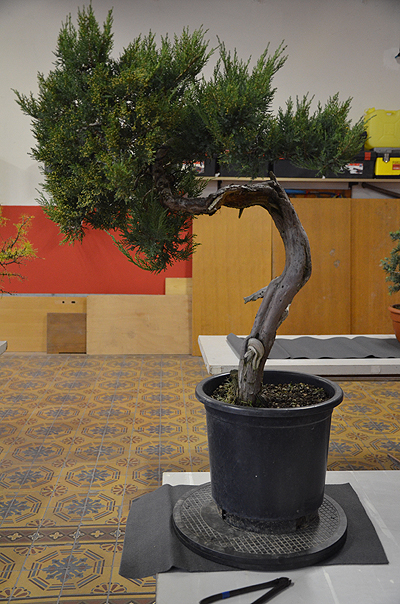
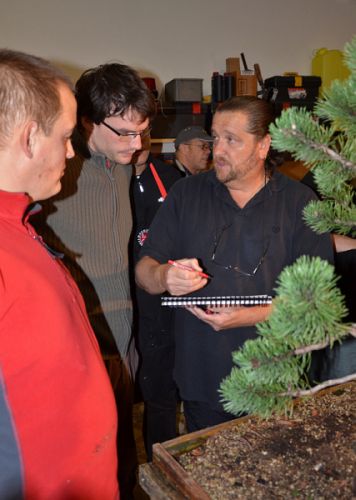
First Roland Petek’s Juniper. This is what Roland wrote on the IBC forum:
Before the workshop, I had another vision of the design with this tree, but after analyzing the tree together with Hans and after he explained what and what I believe is the most important thing, why he thinks that the
development of the design should go in this direction I decided to make it like this…and I’m very glad I did. Additional to this there was a good explanation how to achieve this design from Hans (strong bending of the trunk, branch structure …) At the end, Tomaž Kovšca helped me out with some details and this is the result.
Below: before the work started.
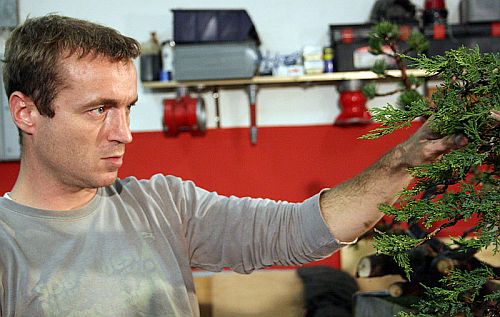
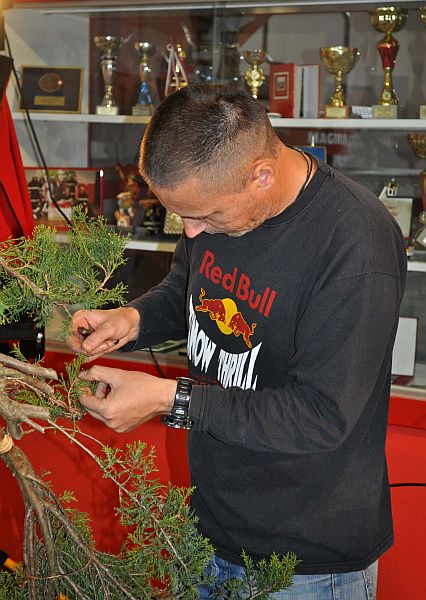
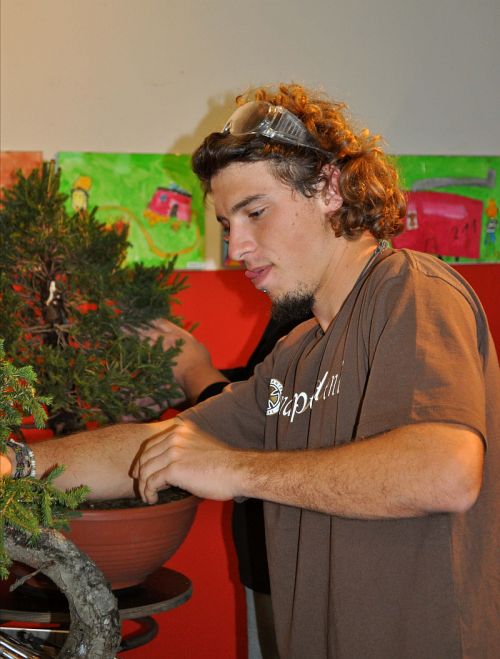
Roland concentrated at work! 🙂
Below the finished tree!

You can read and see more about this Bonsai weekend and much more on Roland Petek “Bonsai Living Art” web blog: http://roland-bonsai-eng.blogspot.com/2011/10/weekend-by-hans-van-meer.html
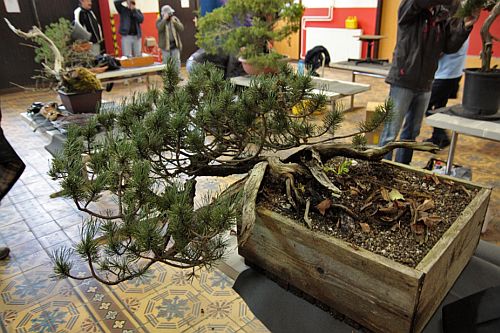
Next Janez Mugo pine:
I am glad that I received pictures from Janez that show the before and after of his amazing Mugo that he styled during the workshop!
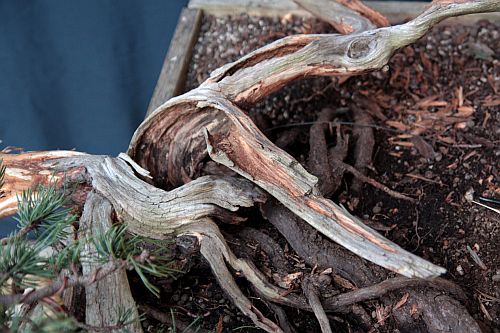
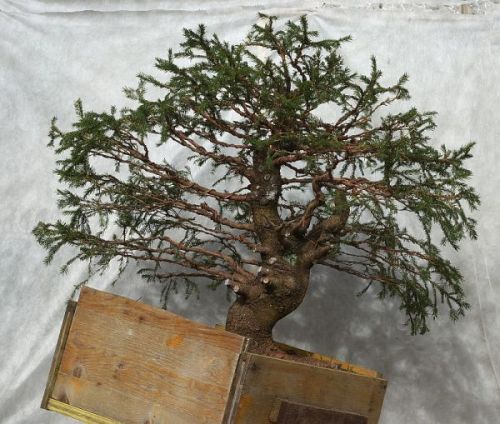
Below: The Mugo before the work started. Just look at the amazing deadwood on this tree! They are signs of the struggle that this old mountain pine had to go through during his life! So they must play an important role in the
future design!
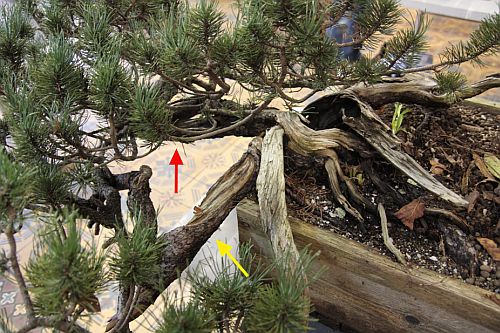
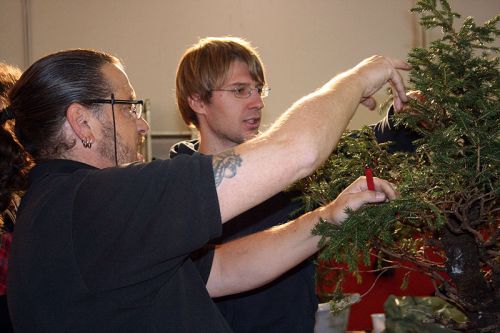
Below: Right from the beginning it was obvious that the future design would be one in the cascading style, so we discussed all the possibilities how to accomplish that in a way that would show all the unique features of this tree! There are two major branches growing from the base of the tree. The red arrow points at the top one of the two. This branch is, although pretty and with a lot of deadwood, to straight and the foliage grows to fare away to be useful in the design. The yellow arrow shows the second branch that falls downward like a snake. This branch has beautiful deadwood running along it and is more suitable to be used in the cascading design! But even this branch would need heavy wiring and major bending to get to were we more or less wanted it!
Below: From this angle, it is good to see how straight that top branch is (red arrow)!

Below: Here you can see that Janez bravely cut off most of that straight top branch and made it
in to a still rough long Jin (green arrow). At home Janez
will try to bring more movement into that fresh jin! We discussed the
possibilities to do this with the help of steam to soften the wood! I am sure
that Janez will find a way to achieve this goal in one way or a other! ![]()

Below: Close up of Janez deadwood work.
Below: The end result! Janez did a wonderful and brave job on material that wasn’t that simple to style! With only some guidance from me, he styled an amazing cascading pre Bonsai with a very promising future! Well, don Janez!

Matej Planinc Spruce:
Matej emailed me some pictures of his Spruce that he worked on during the workshop. I would like to share this with you all because the work that was don on this big Spruce was so much different from most of the other trees that were styled that day. Although there are some gentle curves in the trunk of this Spruce, I would still call this tree a classical example of a formal upright evergreen that you can see all over the Alps! So it was only logical that it would be styled in just that way, like a real live full-grown Spruce! So no major bending on trunk or branches would be necessary! But even though we decided to style this Spruce like it’s big cousins on the mountains, this those not mean that design mistakes were allowed! When you style your small tree to look like a real tree, you have to downsize the image in your head to Bonsai size. That will automatically mean that a lot of branches have to be removed to create the open spaces that you are used to seeing on full-size Spruces! If you don’t do this you will only create a small Spruce with the outline of a large one! It will end up looking just like a Xmas tree! Open spaces on any Bonsai will provide us with a lot of information about height and distance of the imaginary tree image that the artist wants us to see! So we selecting ideally placed branches and removing the unwanted ones! Were branches grew opposite of each other, only the best one was left on. Branches growing on the inside of a curve, obstructing the flow of trunk were cut off! The crossing and too thick branches and the ones that were obstructing the view of that mighty trunk line were also removed! On places of interest stumps of those removed branches were left onto (maybe) be converted into Small Jin’s. All branches that were left on were wired only to bring them more or less in the desired position and to open up the spaces between them so that light and air could reach the inside! This way many new buds will appear all along those, now still too long branches. So that in the next couple of years those branches can be made shorter and shorter! A new top was created to get a better taper on the tree! And after tilting this Spruce to the right it also has a wide root base that is not so clear to see in these pictures, so it is a very promising pre Bonsai that will only get better and better over the years!

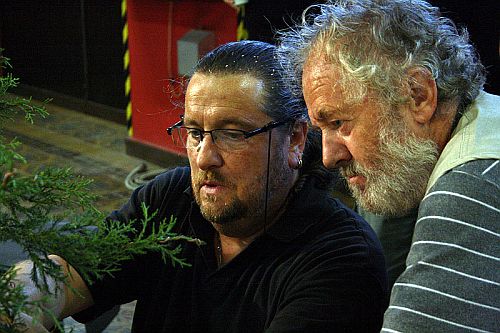
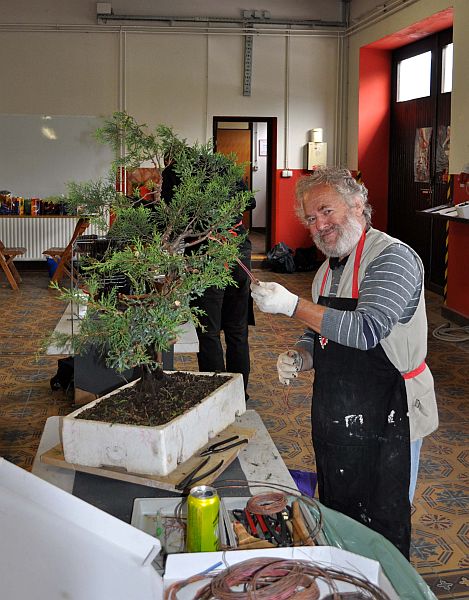
Below: Discussing the tree with Matej.
Below: The end result for now. The large stump you see sticking upward on the right side of the second curve was left on because it tells a logical and interesting story of the hard life this old tree had! It will be converted into a Jin. In the future when the branches have become shorter, they will be rewired again and then more movement will be made into them. But that’s for later! ![]()
Below: Some pictures that say more than a thousand words could ever do!


Thanks to the members of the Slovenia Bonsai Club for allowing me to use their pictures and for the wonderful weekend they gave me! Hope to CU all soon again!
Cheers,
Hans van Meer.
Info: karamottobonsai@hotmail.com
——————————————————————————————-
