
Hi, everybody,
on the 8th of September, I gave a demo at SHO RYU KAI BONSAI CLUB that’s is situated in the famous LODDER Bonsai centre in Harmelen (The Netherlands). Marcel Witteman a member of this club took pictures of it all and he gave me kind permission to use them so that I could share them with you all! It was a short afternoon demo, so I was a bit pressured for time (as often with demo’s), but I got some kind wiring help from Filip Haesen (Belgium) that gave me some more room to explain and discus things with the club members!

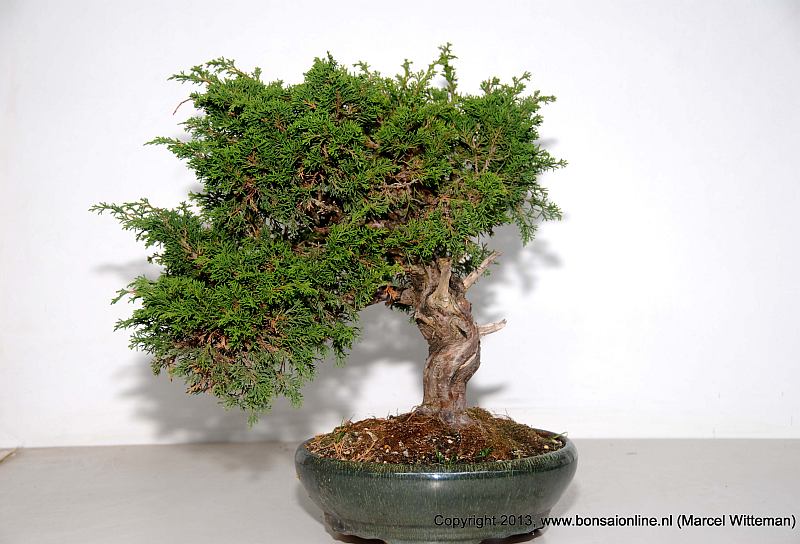
Below: This demo tree (from Filip Haesen) that I selected is a Chuhin sized Juniper Itoigawa from Japan. Some years ago it was used in another demo after which it lost a lot of branches, especially on one side! It recovered well and now it is healthy enough to undergo its second styling by me! This is one of two possible fronts.

Below: Problem with choosing this side is that the first branch on the right side of the tree is placed almost at the top, so it can only be transformed into a literati Bonsai.

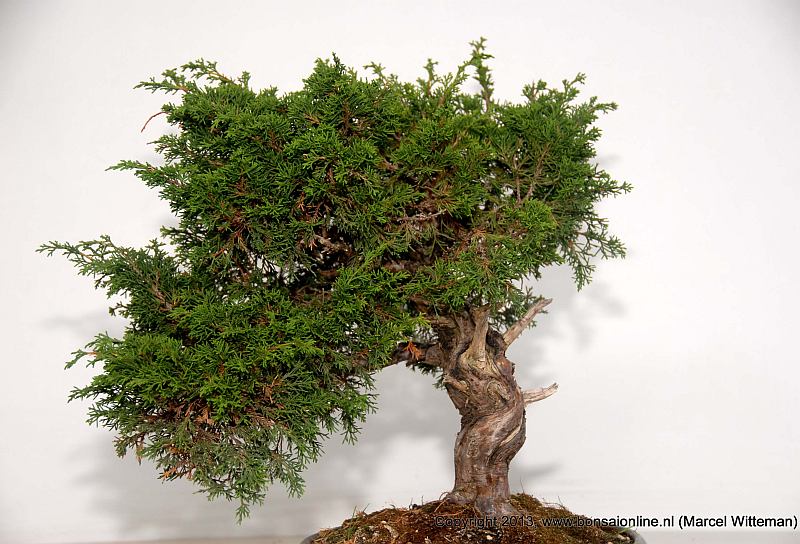
Below: This is the other possible front.
Below: Problem with choosing this side as a front is that there is a reverse taper at the base of the tree.
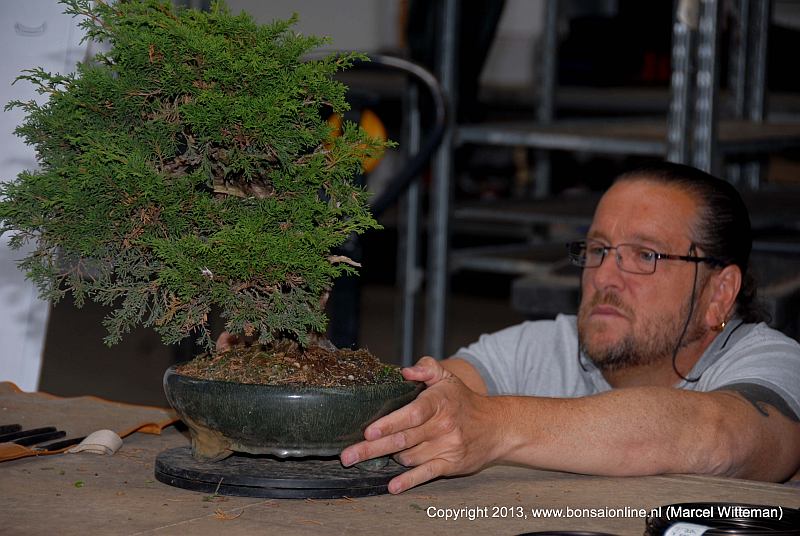
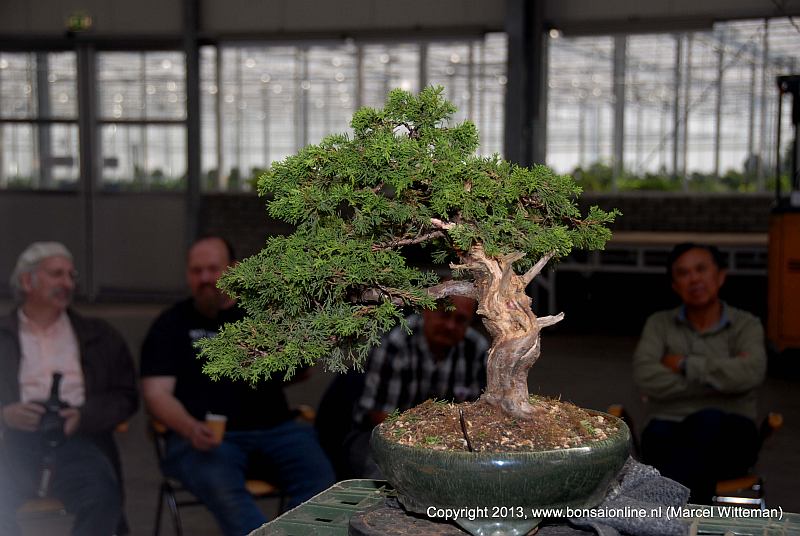
Below: Having a long look while discussing all the possibilities with the students.


Below: After we decided to go with the second possible frond side (with the reverse taper), I removed all unwanted foliage and death stuff.

Below: Than with the help of a hard copper brush I carefully removed all the dry bark from the recently died sections, making sure not to damage the live veins. A cutback branch and an old dead one were converted in too short Jins. In this picture, you can clearly see that there are no branches growing from this side!

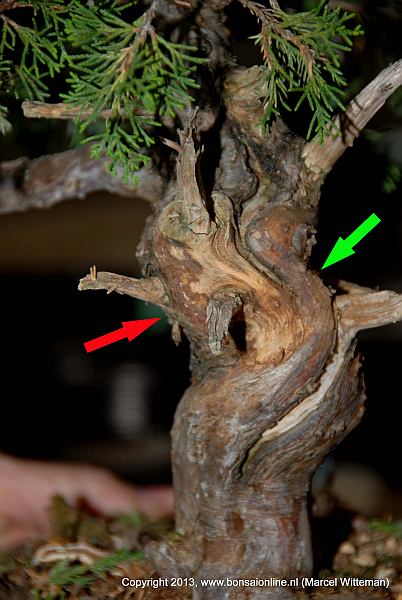
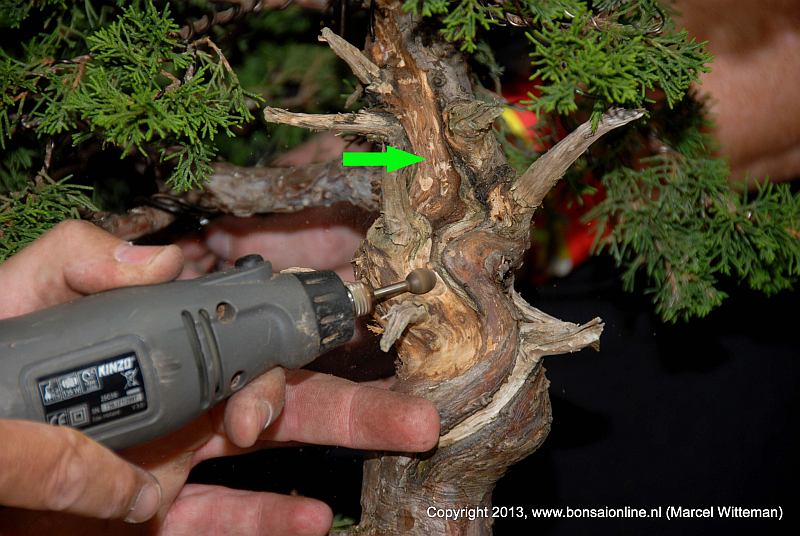
Below: After initial cleaning. Green arrow: Look how nice that newly formed live vain craws upwards the trunk. Red arrow: Here a section of deadwood needs to be removed so that the trunk will look thinner and more in balance with the bottom section of the trunk!
Below: Removing unwanted wood, while styling what stays. It is done with the purpose to reduce the visual thickness of the deadwood, but also to envisage the beauty of it. In other words: It has to look good! 🙂 The green arrow point at an uncovered recently died section.
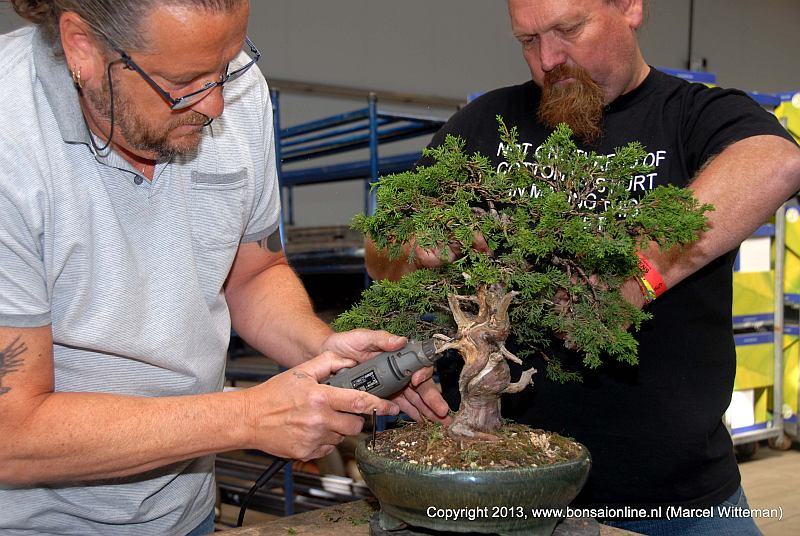
Below: Stil styling the deadwood while Filip Haesen is wiring along.
Below: Almost finished.
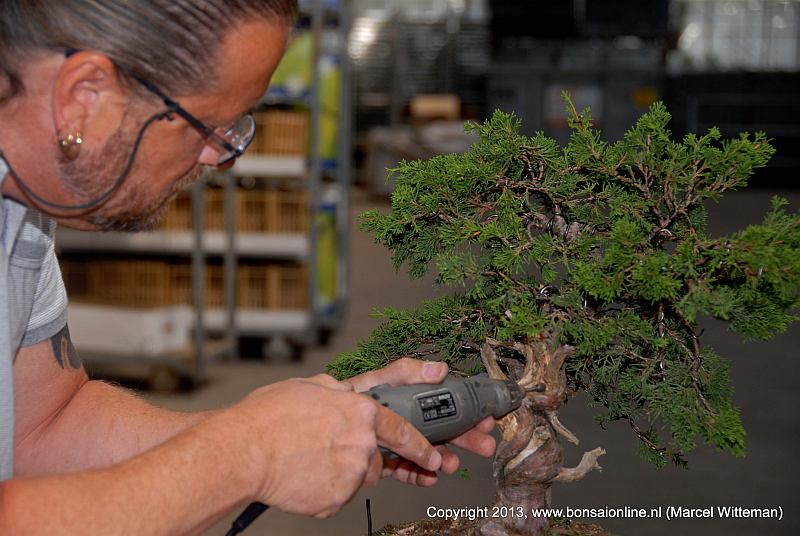
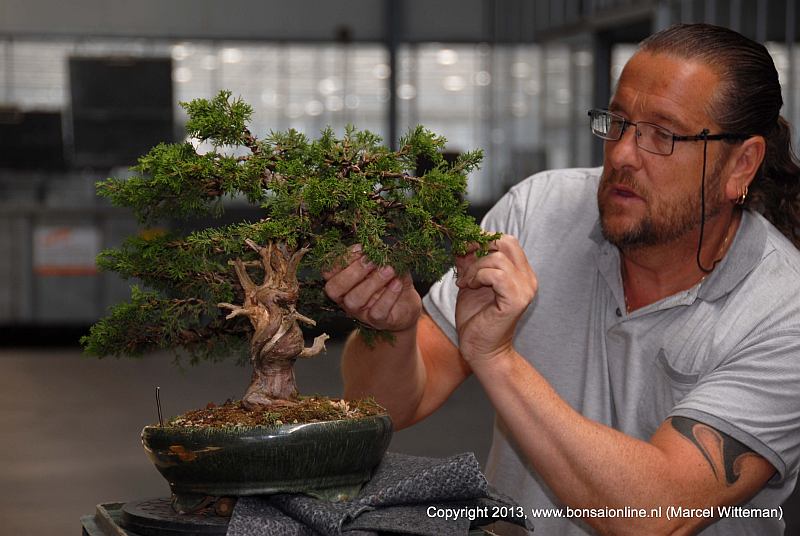
Below: Applying the last wire.

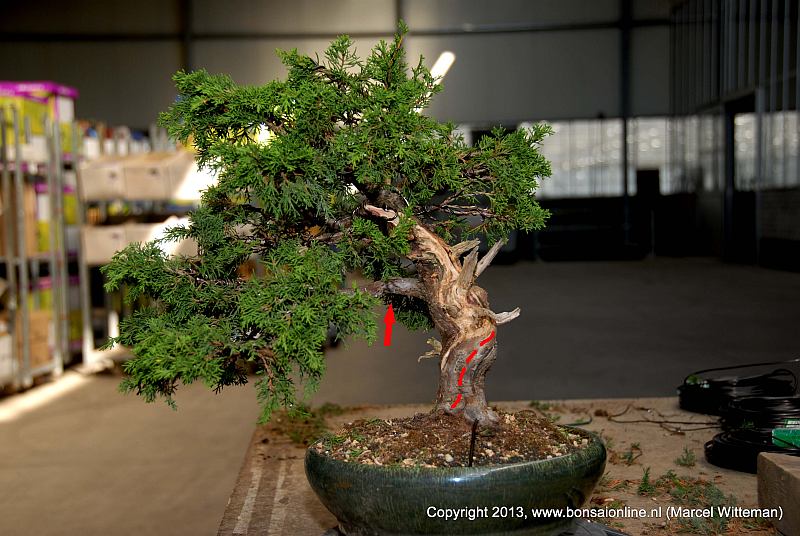
Below: The red line shows just how snake like the bottom section of the trunk coils upwards! The red arrow points at the only thicker branch of the tree. It is pretty straight so it needs bending to give it more movement. It will be the main character branch in this design.
Below: Bringing the foliage off the bottom branch into place. It is divided into two main layers.

Below: Slowly bringing layer after layer into its new place. In this picture, you can clearly see that with this side as the front the branch with the red arrow would be the first main branch. The only way to style with a first branch that high would be a tall Literati with not much foliage and a strange trunk. The green arrow shows at the only lower branch on the tree. It is useless with this as a front because it grows straight to the back. A windswept would not look right either with this trunk, in mine and the majority’s opinion! 🙂

Below: Bringing everything into its place, without match planes or thoughts! I love this bit, exciting and always a bit affright or maybe, anxious?! It makes me happy! 🙂
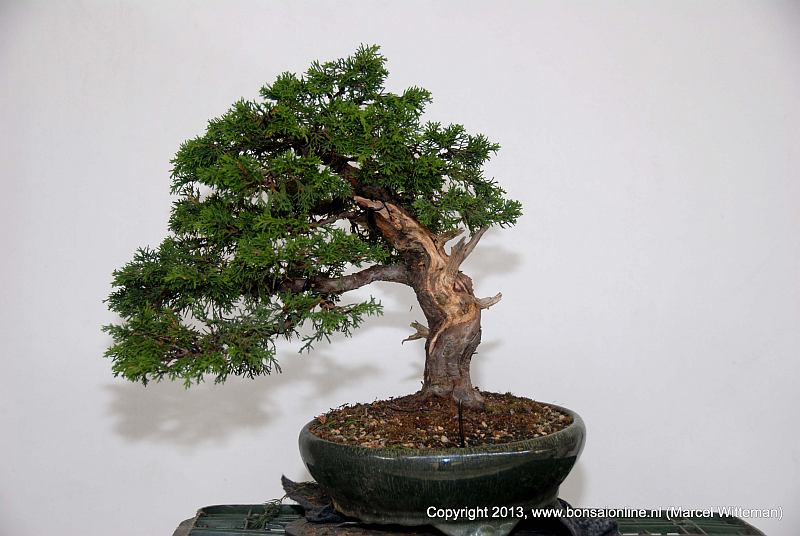
Below: The final resold. It’s a basic styling with not much harm or risk to the tree, so I am sure that in the good care of Filip this tree will recover just fine this time! It will be a nice Bonsai in just a few years time when more foliage has grown and more details/layers have been formed by Filip!
Below: The end result, for now! But the start is there! I had fun and Filip, the owner, was happy and the club members were happy! So I am happy! Yes a fun day indeed, thanks to the SHO RYU KAI BONSAI CLUB for having me, let’s do it again!? 🙂
I hope you all enjoyed this little photo story of a Sunday afternoon demo? 🙂
Cheers,
Hans.
Info: karamotto@hotmail.com
————————————————————————

Looks great Hans, nice demo and good blog
LikeLike