Why? Because then you will also remove all the Mycorrhizae Fungi that your Pine needs so hard to survive! Why this warning? Well, a few weeks ago I came across a Bonsai care video on YouTube by a very popular online Bonsai amateur who advocated and then showed how he with a water hose removed all the soil together with the O SO valuable Mycorrhizae from his Mugo Pine?! Giving a lot of newbies that watch his channel completely the wrong and harmful information!

What are mycorrhizae and how do they work and help our Bonsai to grow healthy?
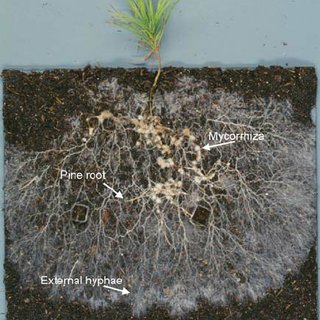
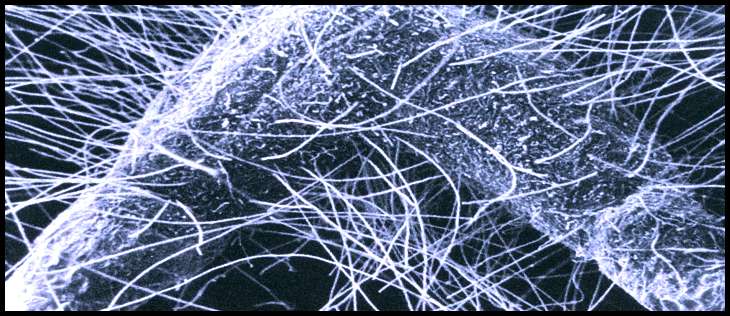
Mycorrhizae are actually a fungus. They exist as very tiny, almost or even entirely microscopic, threads called hyphae. The hyphae are all interconnected into a net-like web called a mycelium, which measures hundreds or thousands of miles—all packed into a tiny area around the plant. 99.9 per cent of all plants live together with Mycorrhizae and benefit from it!
In nature mycelium of a single Mycorrhiza, in turn, can extend outward, connect multiple plants (even plants of different species!), and even connect with other Mycorrhizae to form a Frankenstein-like underground mash-up called a common Mycorrhizal network.
In a common Mycorrhizal network, it’s hard to tell where one mycorrhiza ends and another begins. Because of this vast network, a single plant can be connected to a completely different species of plant halfway across a forest!
Mycorrhizae actually connect to plants in two ways. One form, called ectomycorrhizae, simply surrounds the outside of the roots (e.g., Pines). Another form, called endomycorrhizal, actually grows inside of the plant—their hyphae squeezed in between the cell wall and the cell membranes of the roots (sort of like wedging themselves in between a bicycle tire and the inner tube).
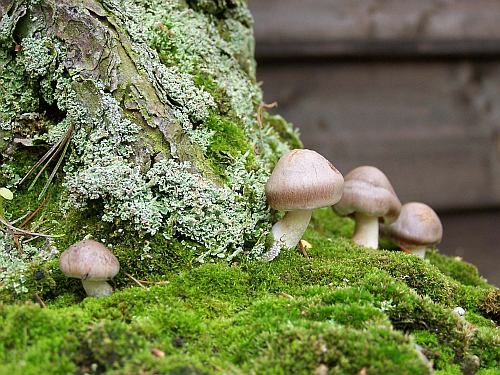
Under normal conditions, you’re not likely to see Mycorrhizae because they’re so small. But every once in a while, something amazing happens: the Mycorrhizae will reproduce and send up fruiting bodies that produce spores—we call them mushrooms and they can sometimes even be seen growing in our Bonsai pot next to a Pine! Some of these mushrooms are even edible, like truffles or chanterelles.
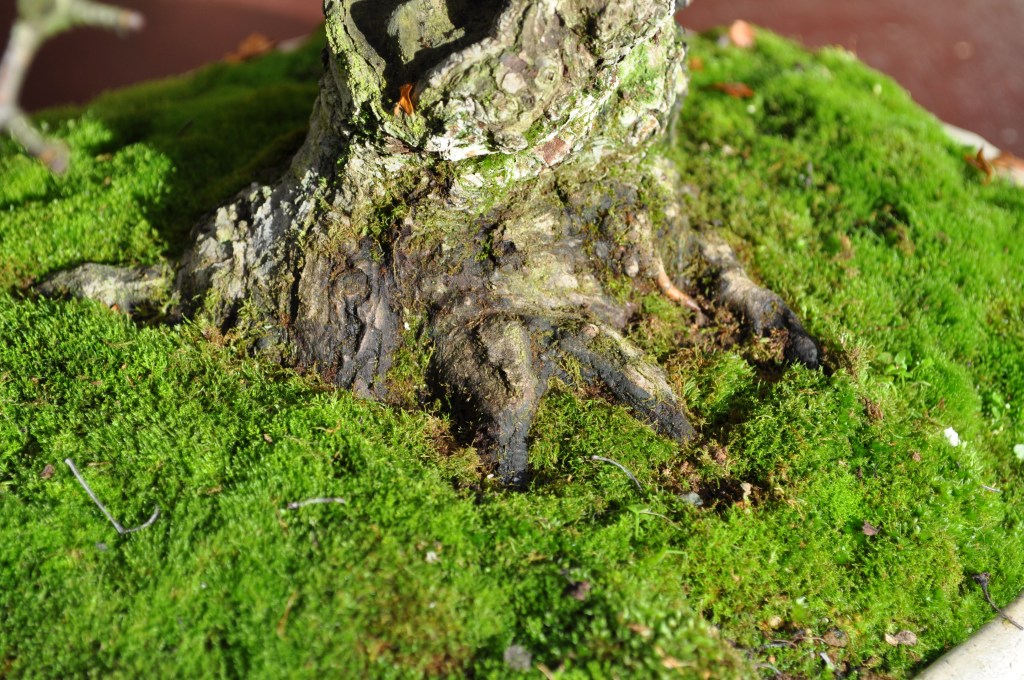
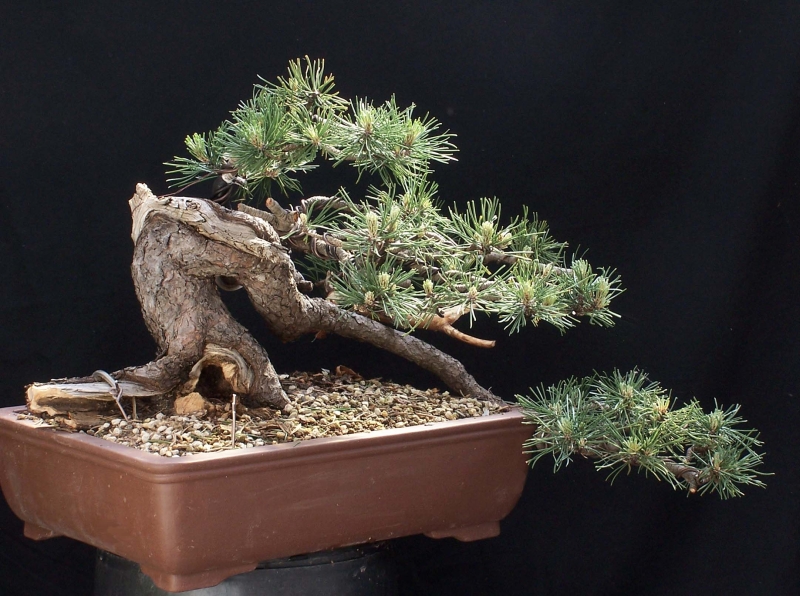
Below: This pretty Picture from late September 2009 shows some beautiful harmless mushrooms growing between the roots of my old Chinees Pinus parviflora (white pine)! They can’t do any harm as long as they don’t grow from in between the live bark or on your deadwood! This old friend has not been repotted for some 7 or 8 years now!
How do plants help Mycorrhizae?
Plants make great gardeners. Just like we fertilize our gardens, plants feed their own Mycorrhizae. Plants will take excess sugar produced in the leaves through photosynthesis and send it to the roots. From here, the mycorrhizae are able to absorb it to sustain themselves. There is very little sunlight underground, and even if there was, the Mycorrhizae wouldn’t be able to harvest it like plants because they don’t have the equipment needed for photosynthesis. The sugar from the plants literally keeps the Mycorrhizae fed and alive.
How do Mycorrhizae help plants?
Plants don’t give up their valuable sugar resources just for the fun of growing fungus gardens. They get a lot of things in return from the mycorrhizae, mostly in the form of nutrients.
Most plants are able to get nutrients themselves through their fine roots, but they have a limited ability to do so. Their roots need to be in direct contact with the soil to absorb the nutrients, and plant roots only grow so small. Fungi, on the other hand, can get much smaller. Fungal hyphae can wedge in between individual bits of soil to cover almost every available cubic millimetre of soil. This increases the total surface/feeding/drinking area enormously and allows the plants much greater access to nutrients than they could ever get by themselves. Many plants living under difficult conditions, they wouldn’t be able to survive at all without mycorrhizae. BUT! And here comes the important part for every Bonsai grower: Some deciduous trees and all CONIFERS don’t have those all-important fine roots and are there for totally dependent on Mycorrhiza for their survival!!!
What do those Mycorrhizae do for their host? Well, it absorbs nutrients such as phosphorus and magnesium and brings them directly to the plant roots. Here, they exchange the nutrients they’ve collected for some sugar. It’s a fair trade, and both sides benefit greatly from it for many millions of years now. The Mycorrhiza treads can absorb even the finest water particles in the soil and deliver them to the fine tree roots! These absorption tree roots can only absorb water through osmosis (pressure differences). With too little water, those fine roots just can’t do their job! But Mycorrhiza can and therefore are the best stress managers for all plants, they help to deal with large variations in temperature, soil conditions and therefore also dehydration!
Additionally, Mycorrhizae help plants out in a whole bunch of other ways. Mycorrhizae harden and help to protect their plants against diseases, salt and toxins. Mycorrhizae can also serve as a sugar delivery service when plants shuttle sugar back and forth to different plants connected to the same common Mycorrhizal network. Perhaps most bizarrely of all, the common Mycorrhizal network can also serve as a means for plants to “talk” to each other—like an Internet made out of fungus!
Putting it all together!
Mycorrhizae forms an invaluable part of ecosystems around the world and can be found in some form or another in just about any ecosystem. In many places, whole forests and ecosystems wouldn’t exist at all without their mycorrhizal friends!!!
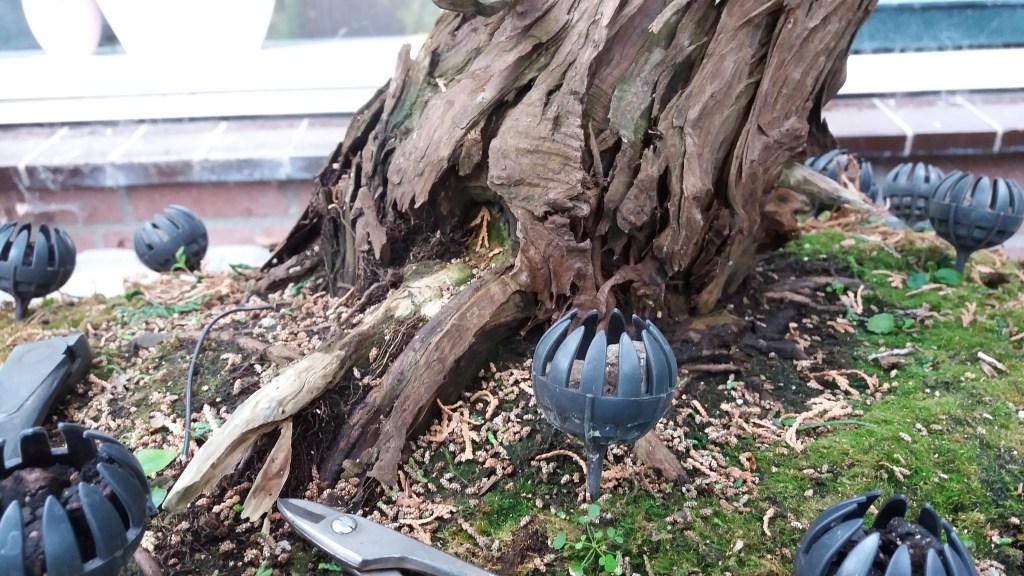
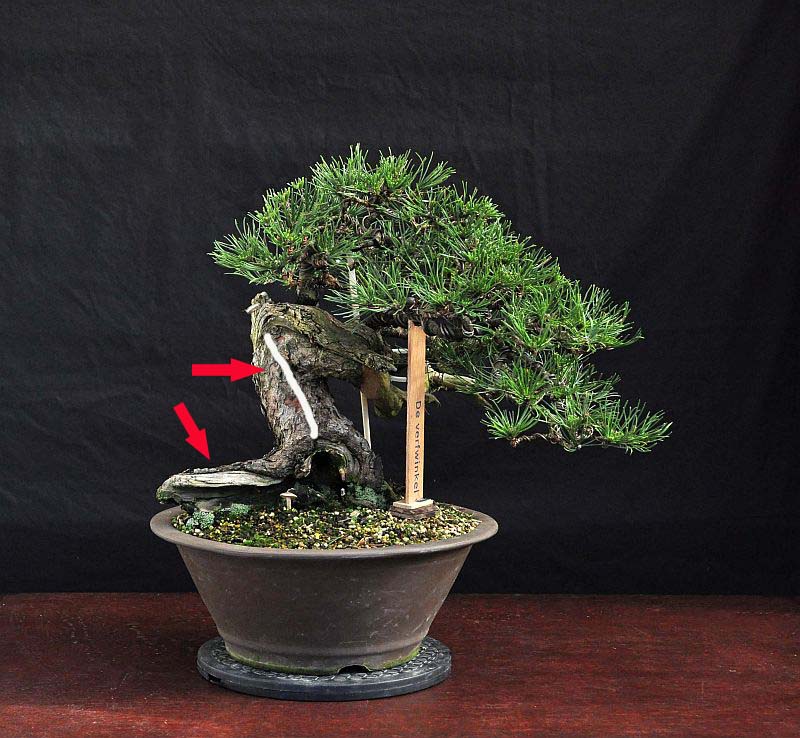
Tip: When you re-pot your Pine make sure to collect as many of the very recognisable white Mycorrhizae threads from the root ball and put that into the rootball and in the fresh new soil! This will help the making of a new healthy roots environment enormously!
In short: to all newbies, and Bonsai friends who read this article: Don’t take just one person’s word or video for the Bonsai truth! Because the number of video views doesn’t show if anyone is a knowledgeable Bonsai authority or not! But their Bonsai/work often dos! Look things up in books and online or watch videos from people that truly know what they are talking about! Join a Bonsai Club and talk, ask and learn there from the people with experience and Bonsai that clearly show that they understand Bonsai!
Cheers and stay safe,
Hans van Meer.
Note: for me to get it all just right and in proper understandable words I used parts of it from free-to-use sources! If I can find the right info, so can you! 😉
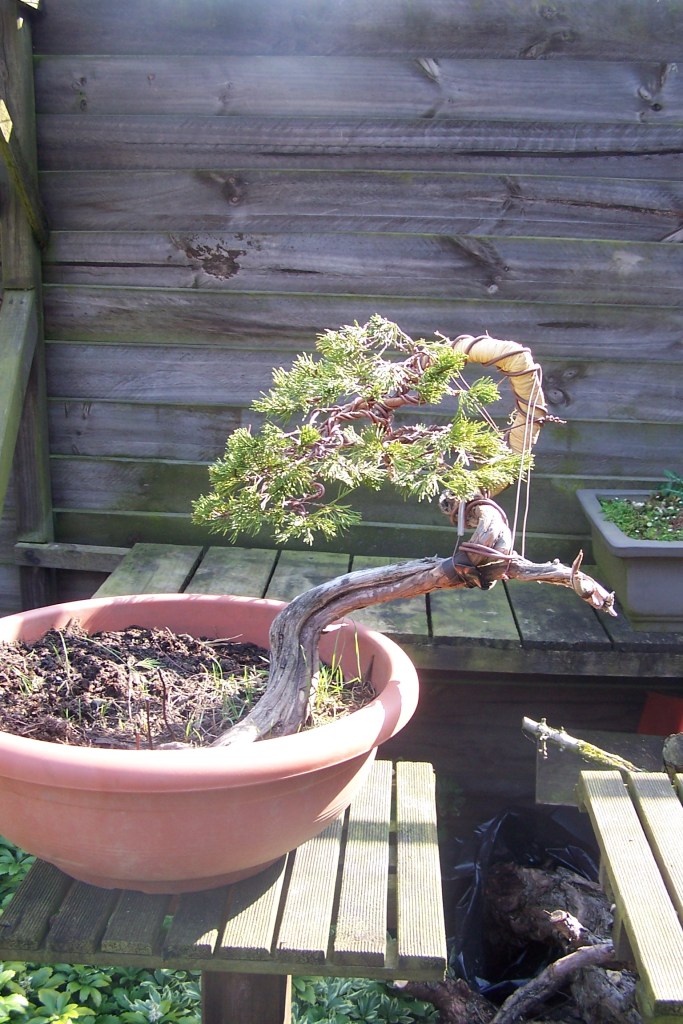


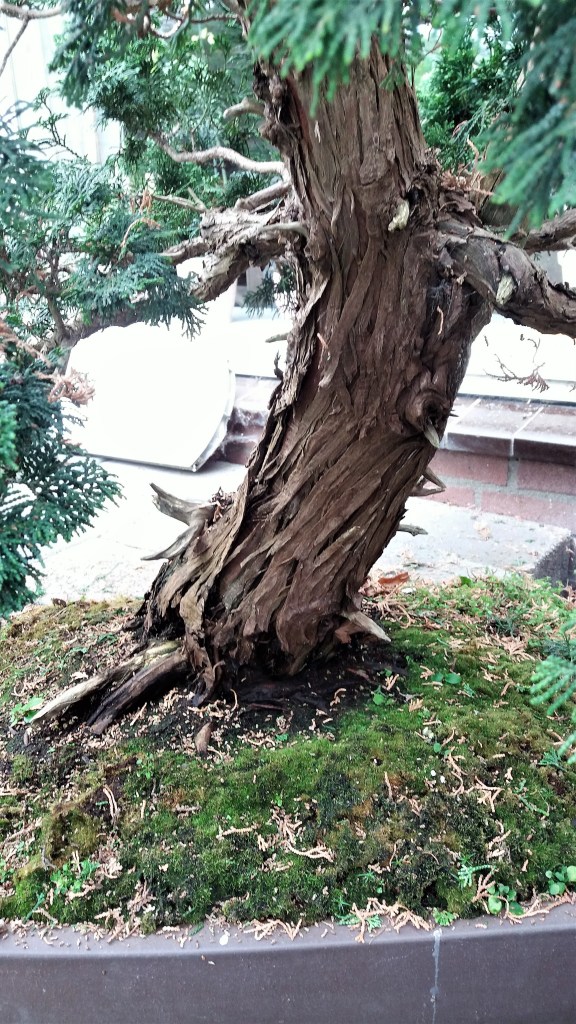

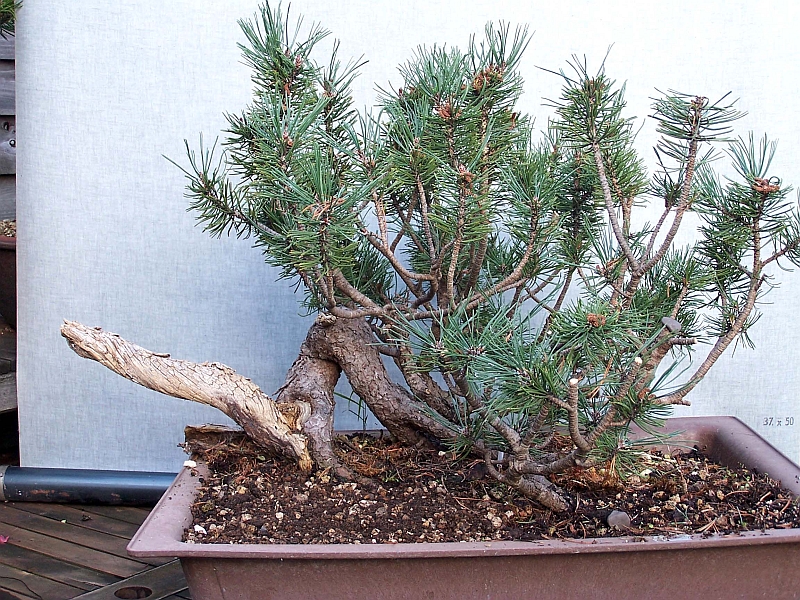

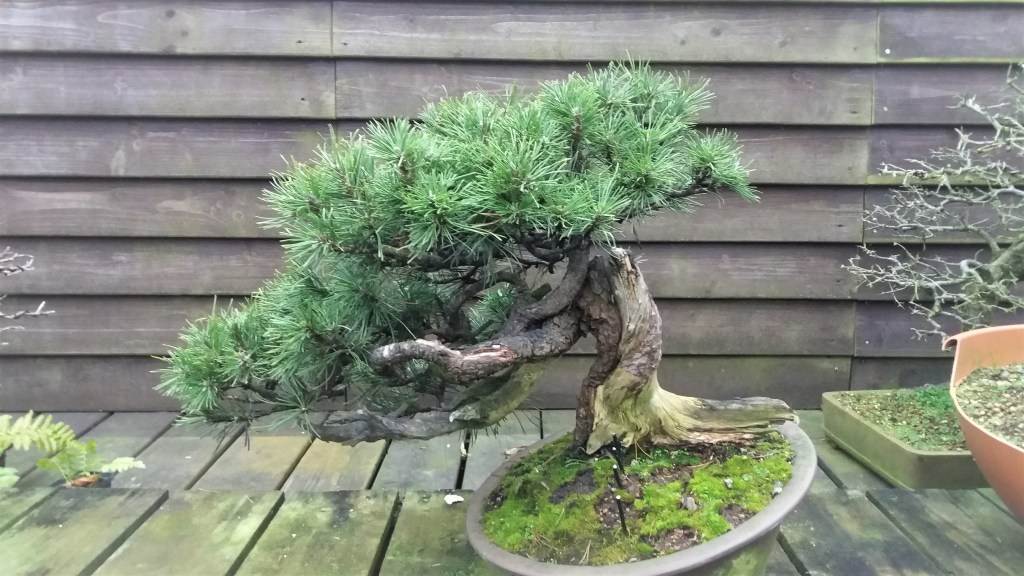


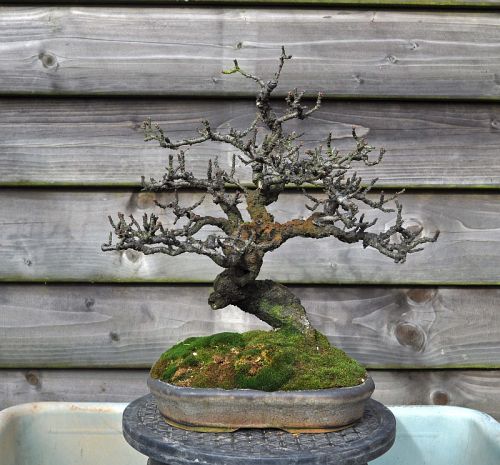
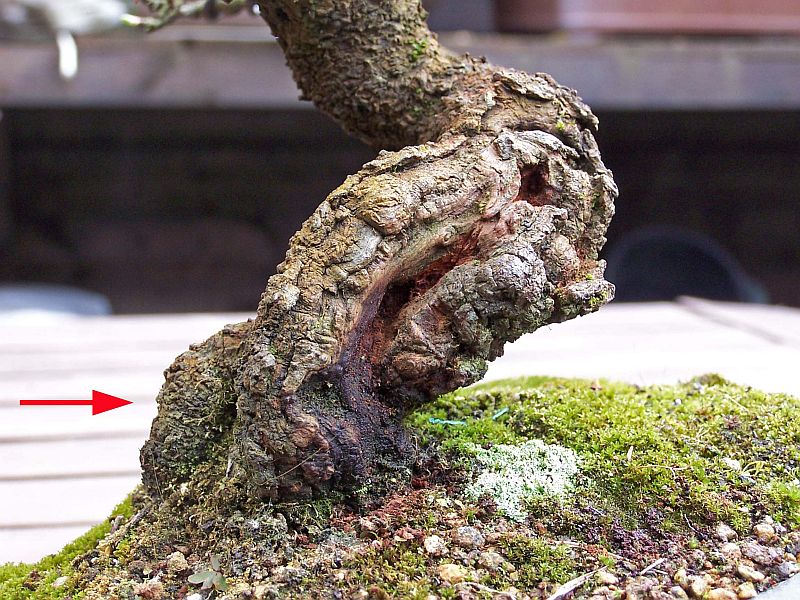
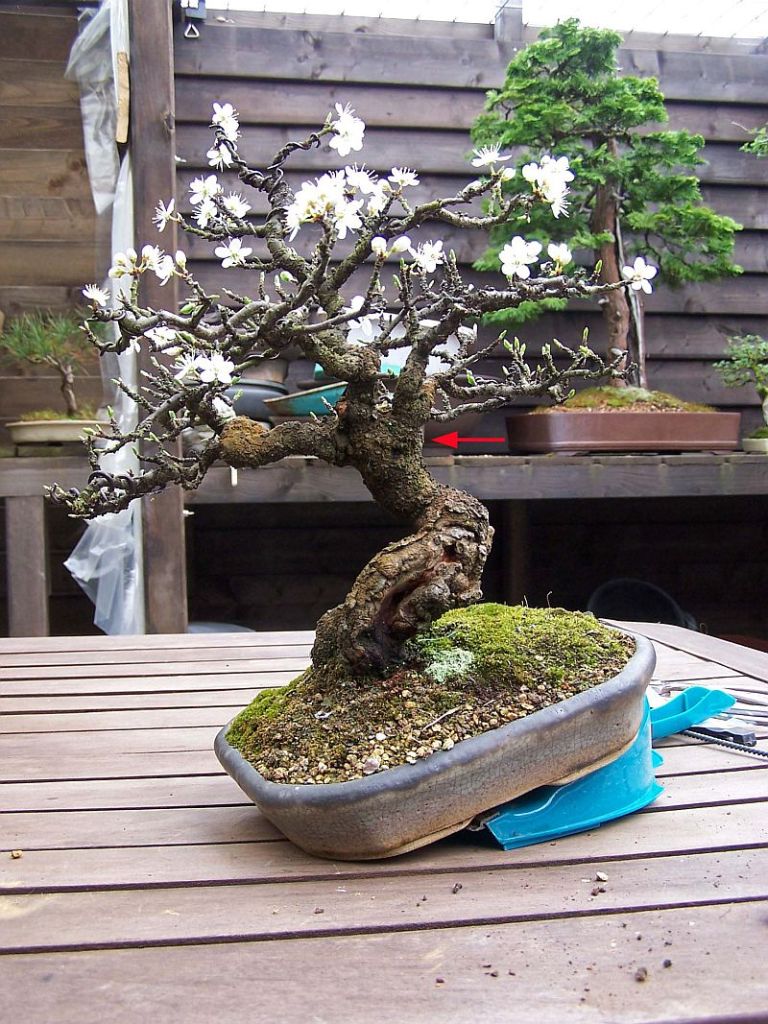


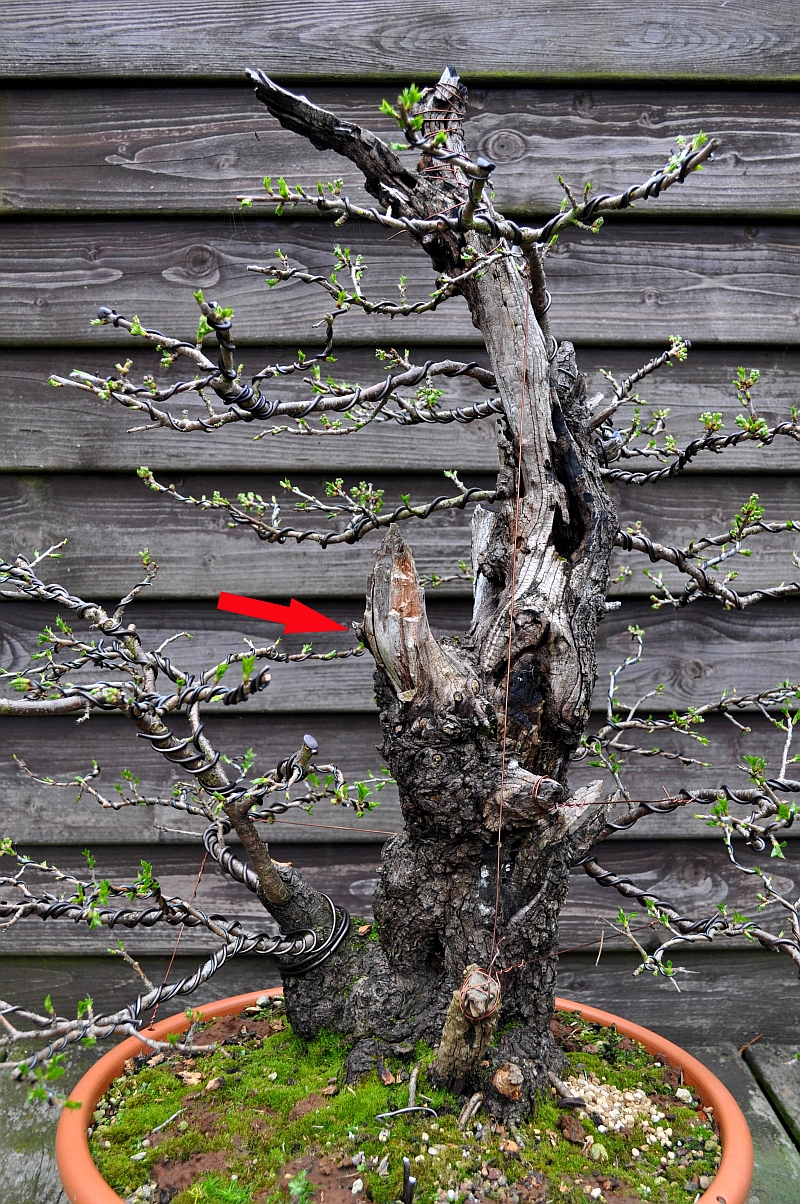
 Below: Backside.
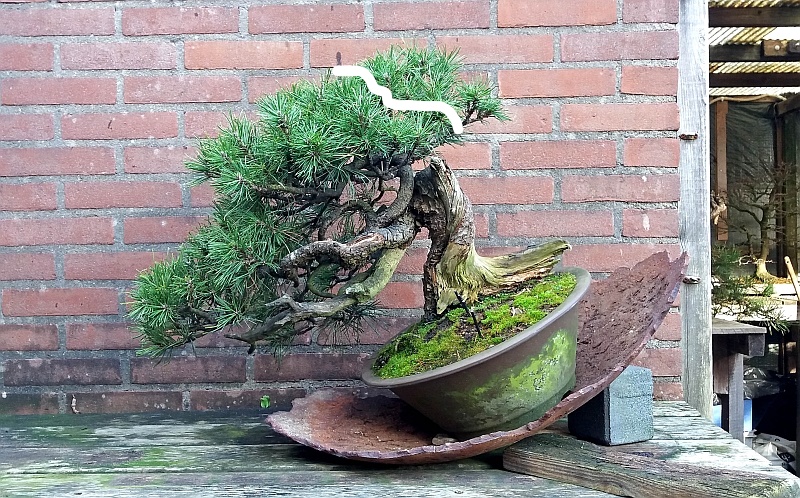